I’ve been seeing Masungi Georeserve on social media for some time now. I’ve always wanted to go but haven’t really put enough effort to book a slot and invite friends to join me. Thankfully, my brother from another mother Jeff of Pinoy Fitness prearranged one for his friends and invited me, Mr. JG, Angela, his boyfriend Arthur, and Alyssa to join them.
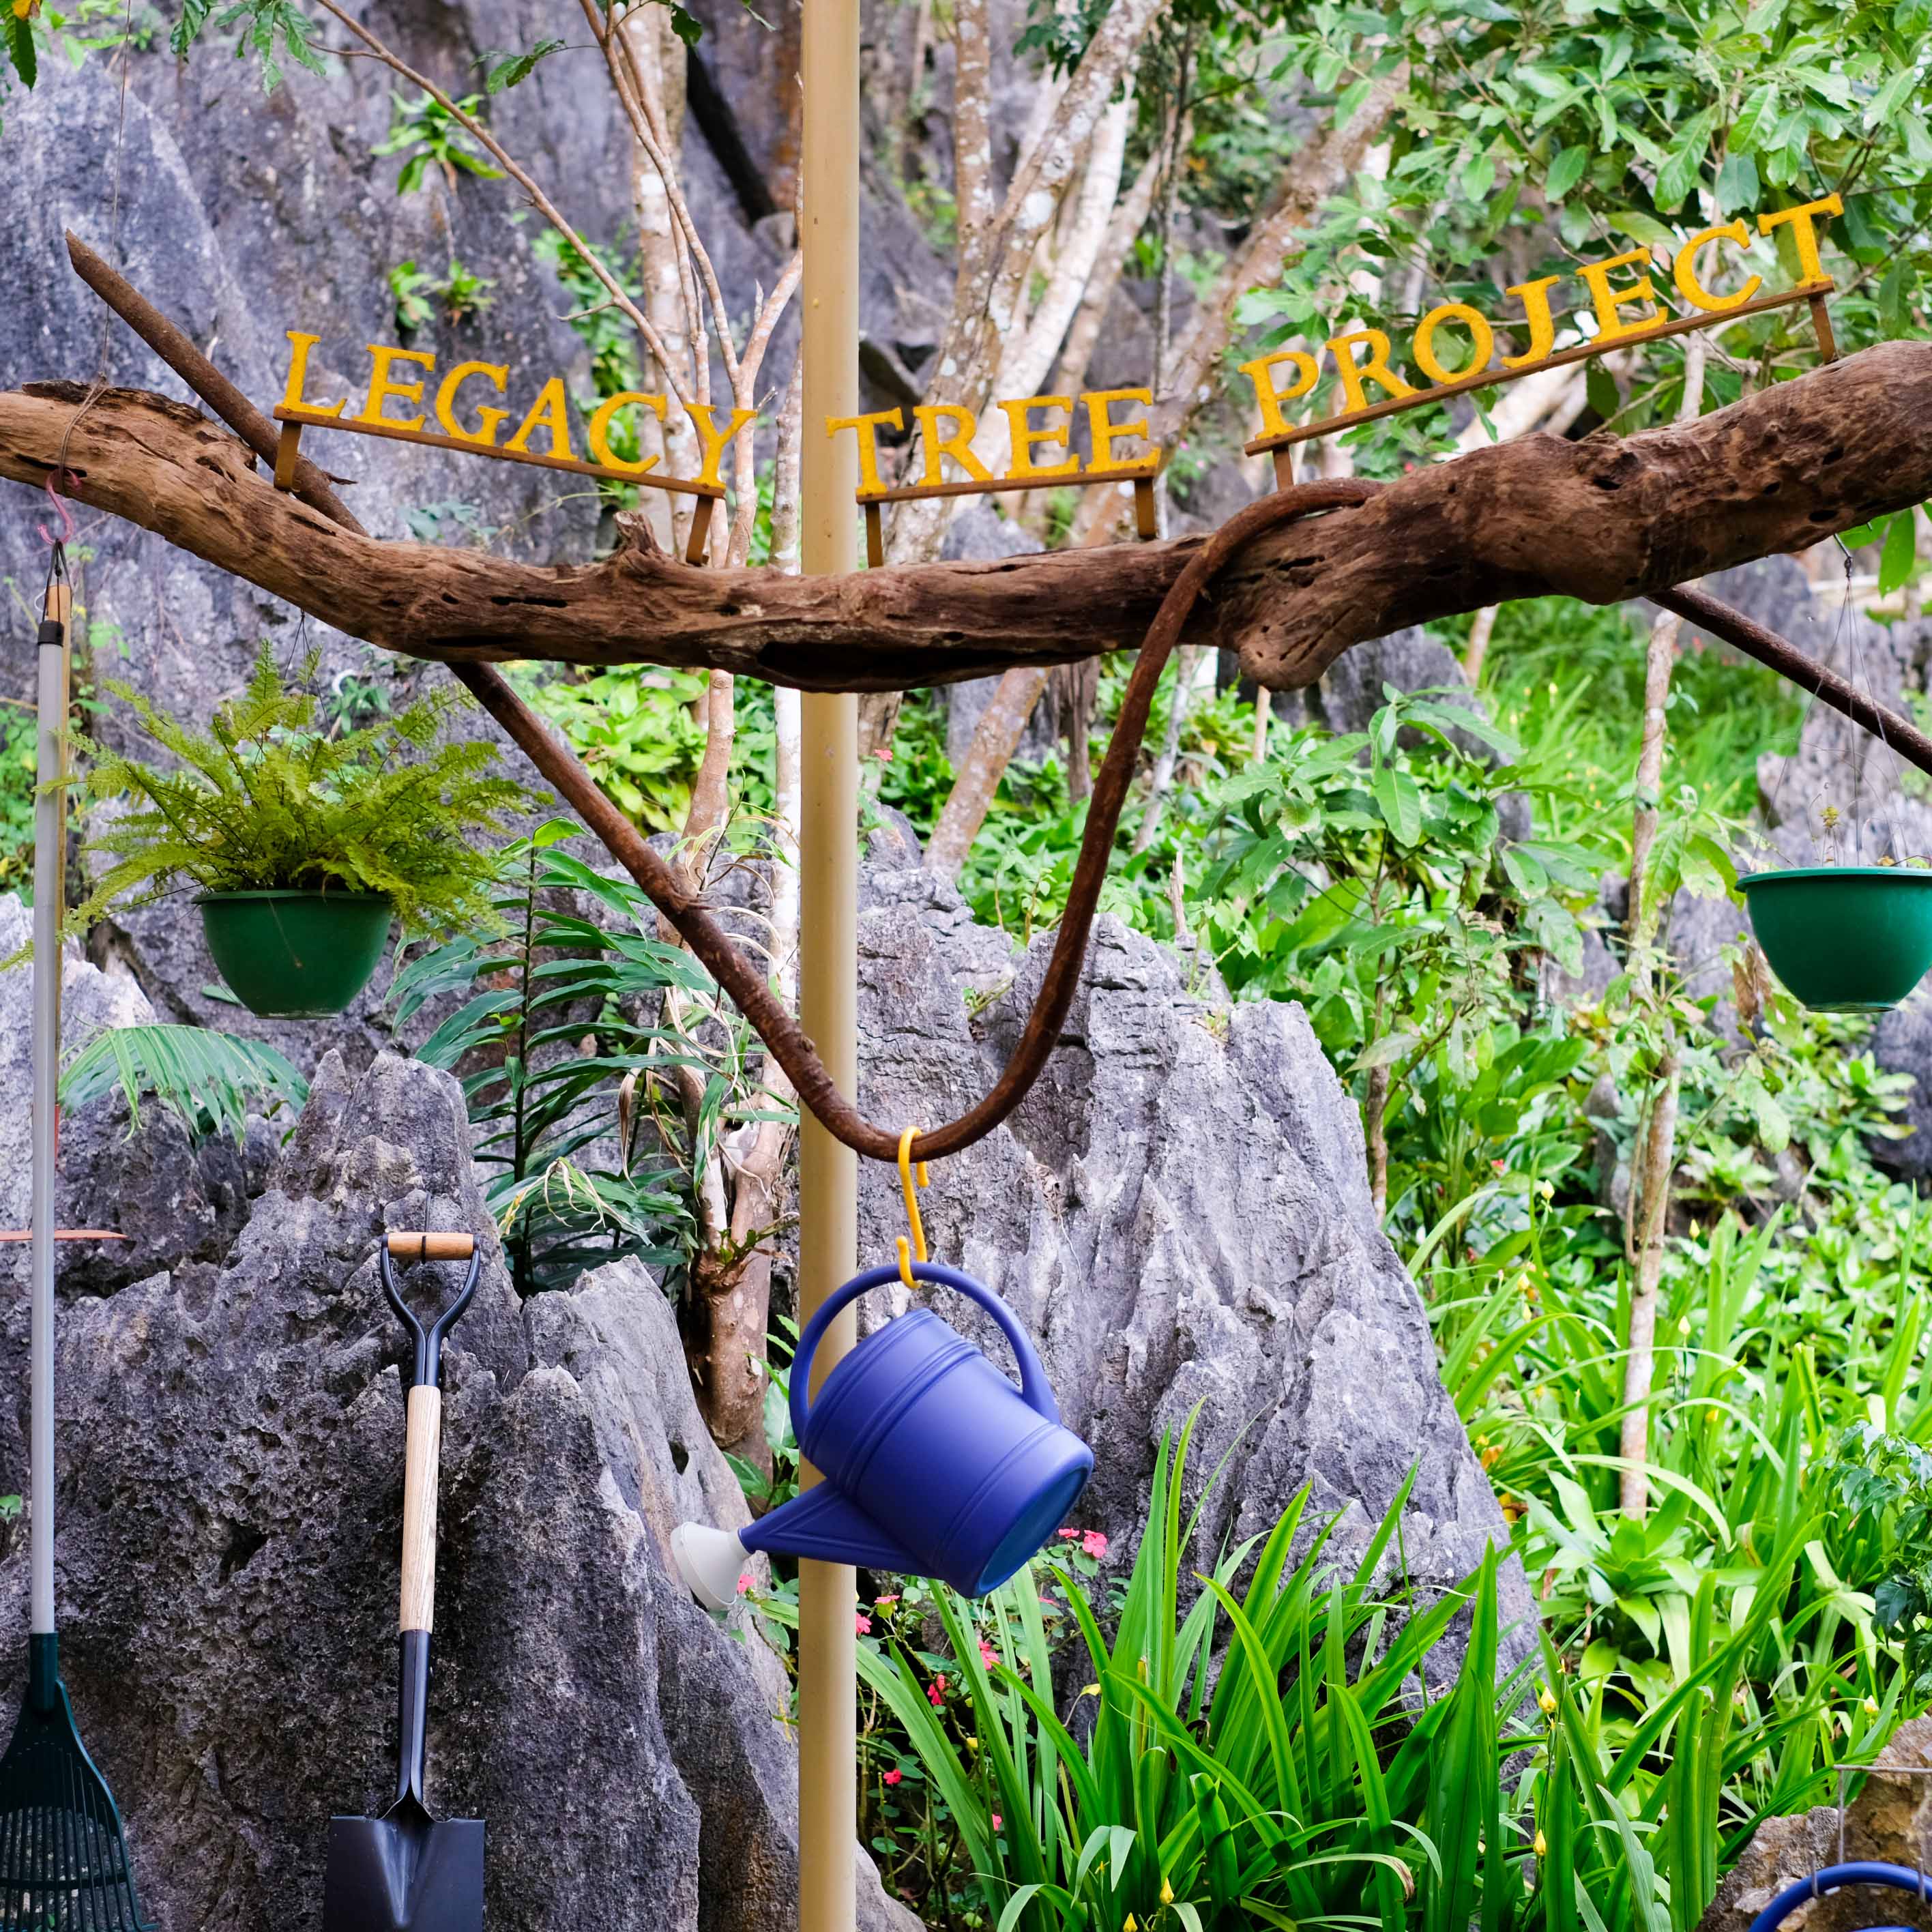
Our group was scheduled at 8:30 in the morning and we arrived at 8 just in time for the briefing. Did you know for every group who trails at Masungi, a tree is donated for Masungi Geopark Project? Yup! The 2,700 hectare perpetual land trust for conservation in Rizal is a pioneer project of the Masungi Georeserve Foundation and the National DENR. Another reason to visit Masungi Georeserve right? Not only do you get to experience the beauty of nature, you also get to participate in conserving the environment.
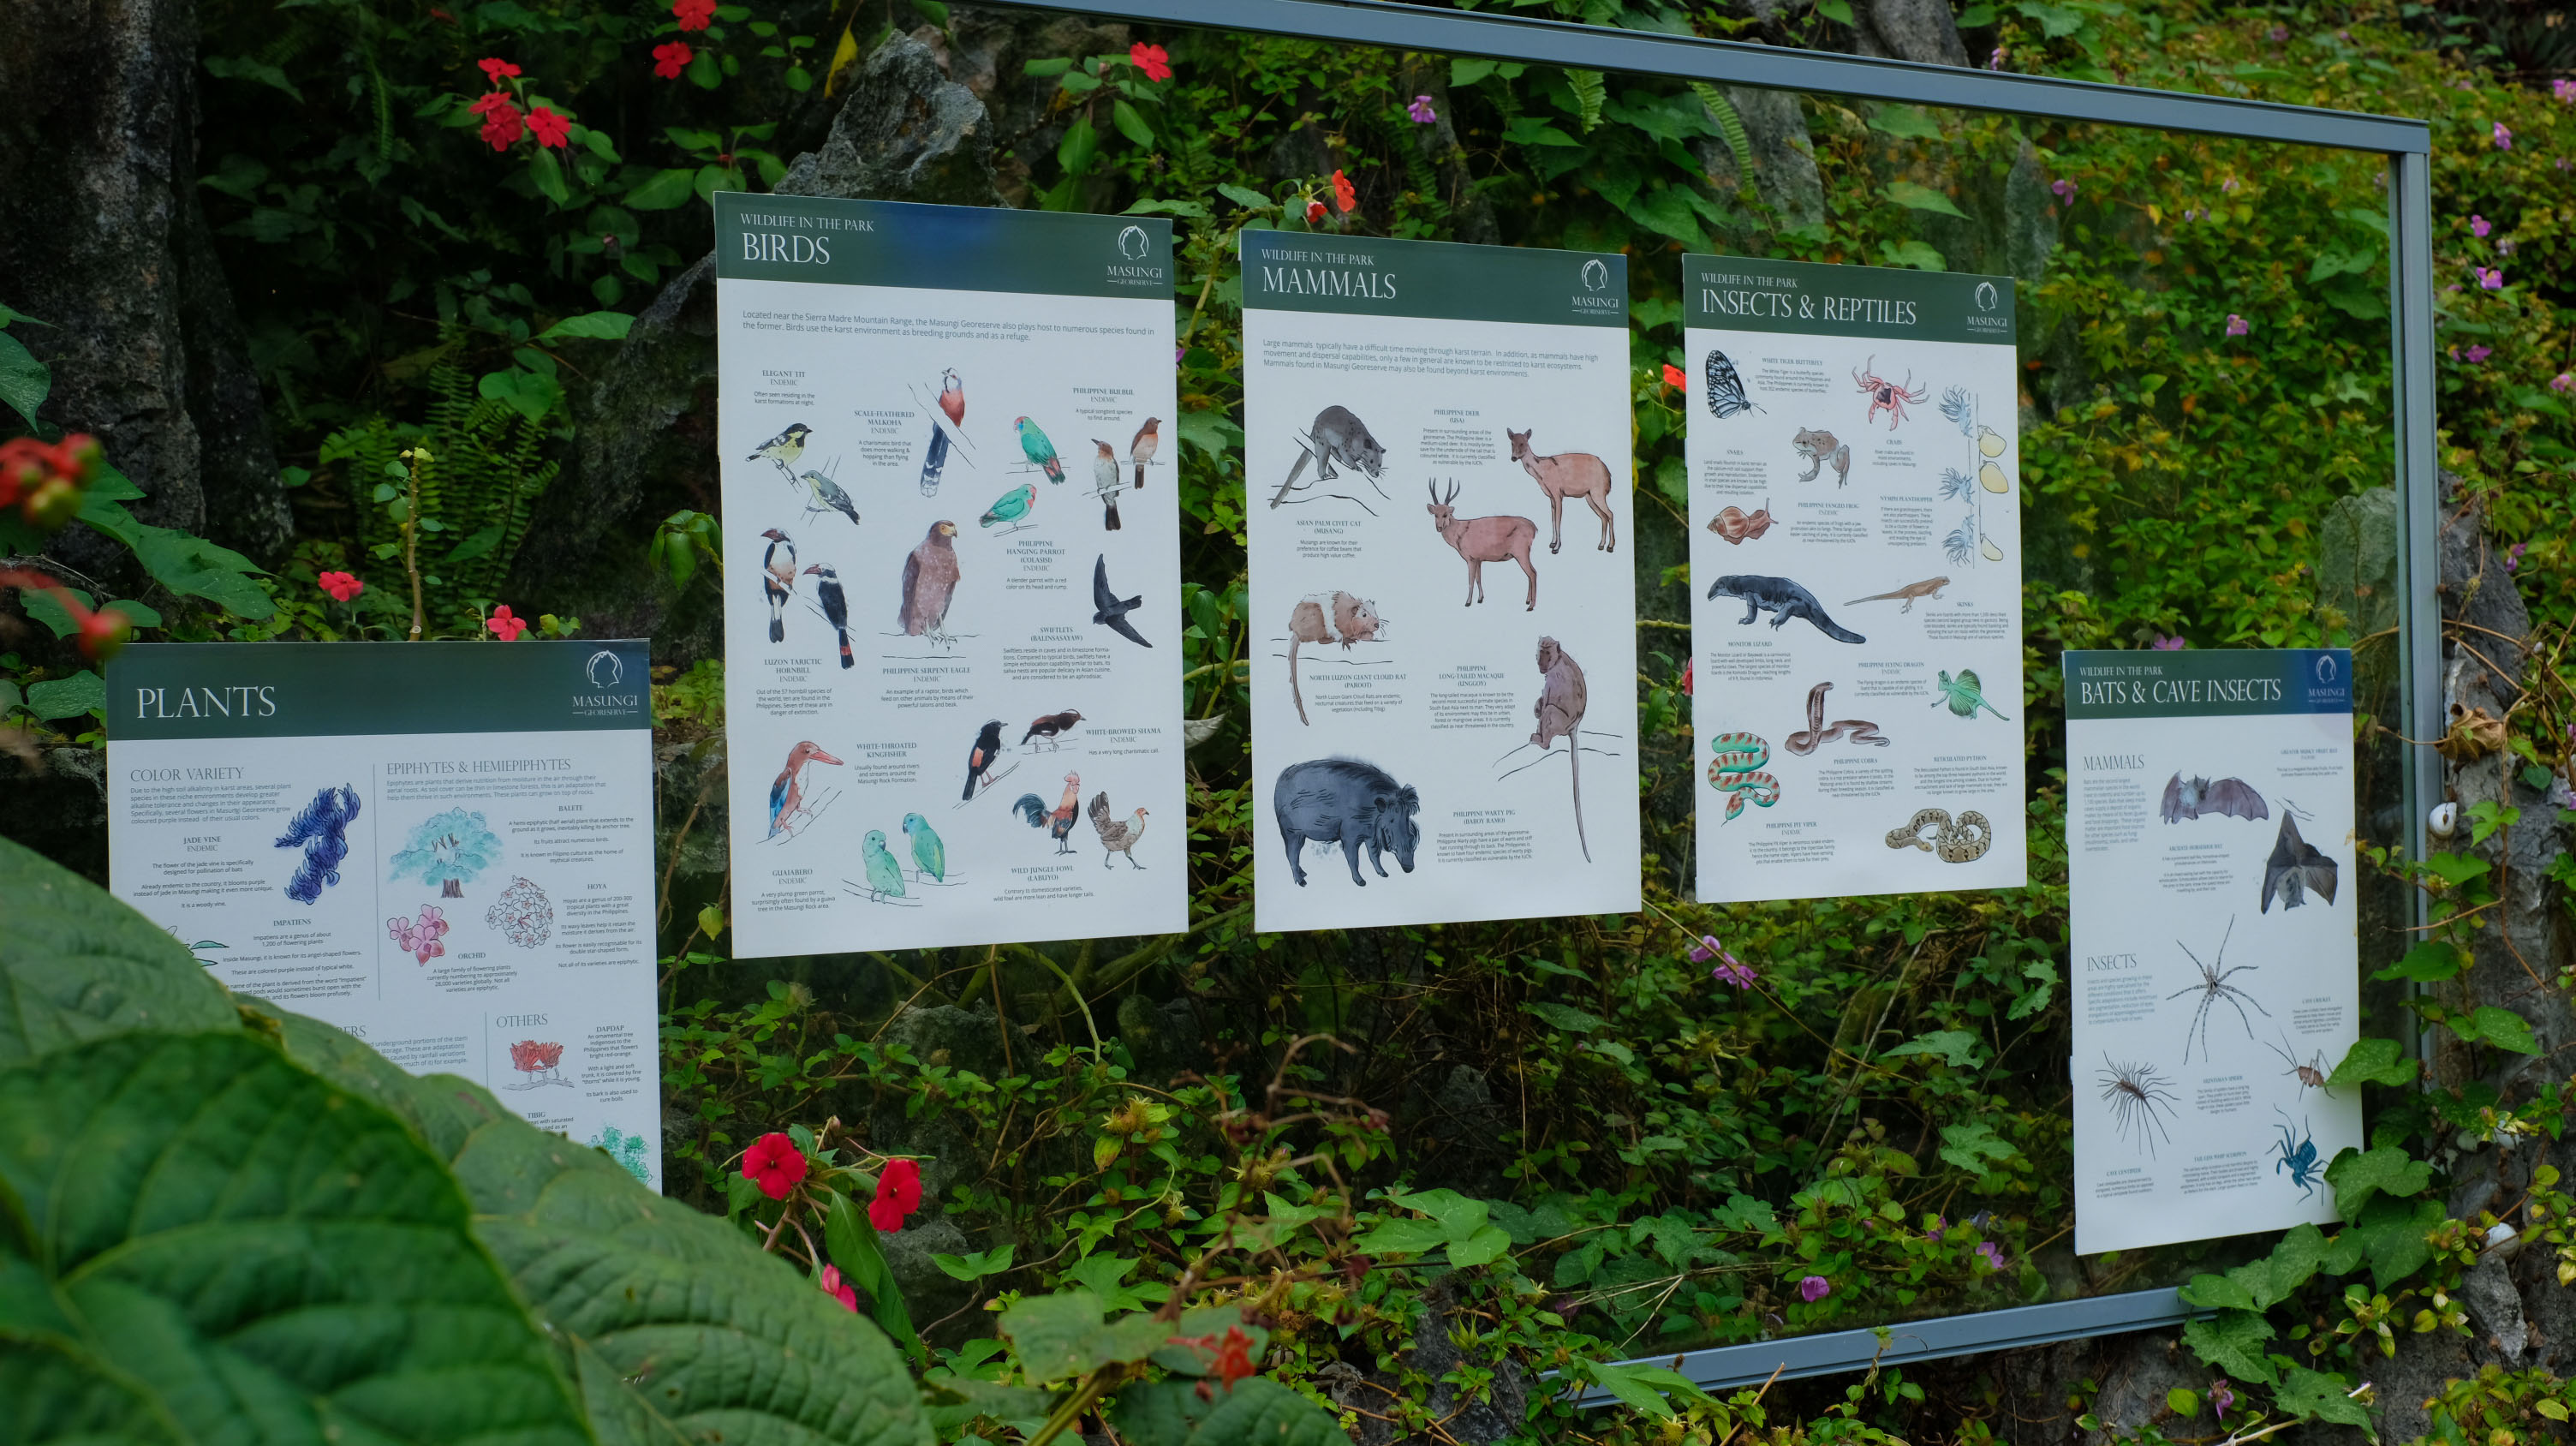
Some of the animals and plants that are peacefully inhabiting Masungi Georeserve and the whole stretch of Sierra Madre mountain range. The trail is about 3-4 hours in total but it can also last up to 5 hours depending on your group’s pacing. There’s a park ranger who will be guiding the group throughout the trail.
It’s Mr. JG’s first time to do trail. The last time he climbed a mountain was when he was in college pa! Thankfully he conquered it with a breeze because he started working out again early this year.
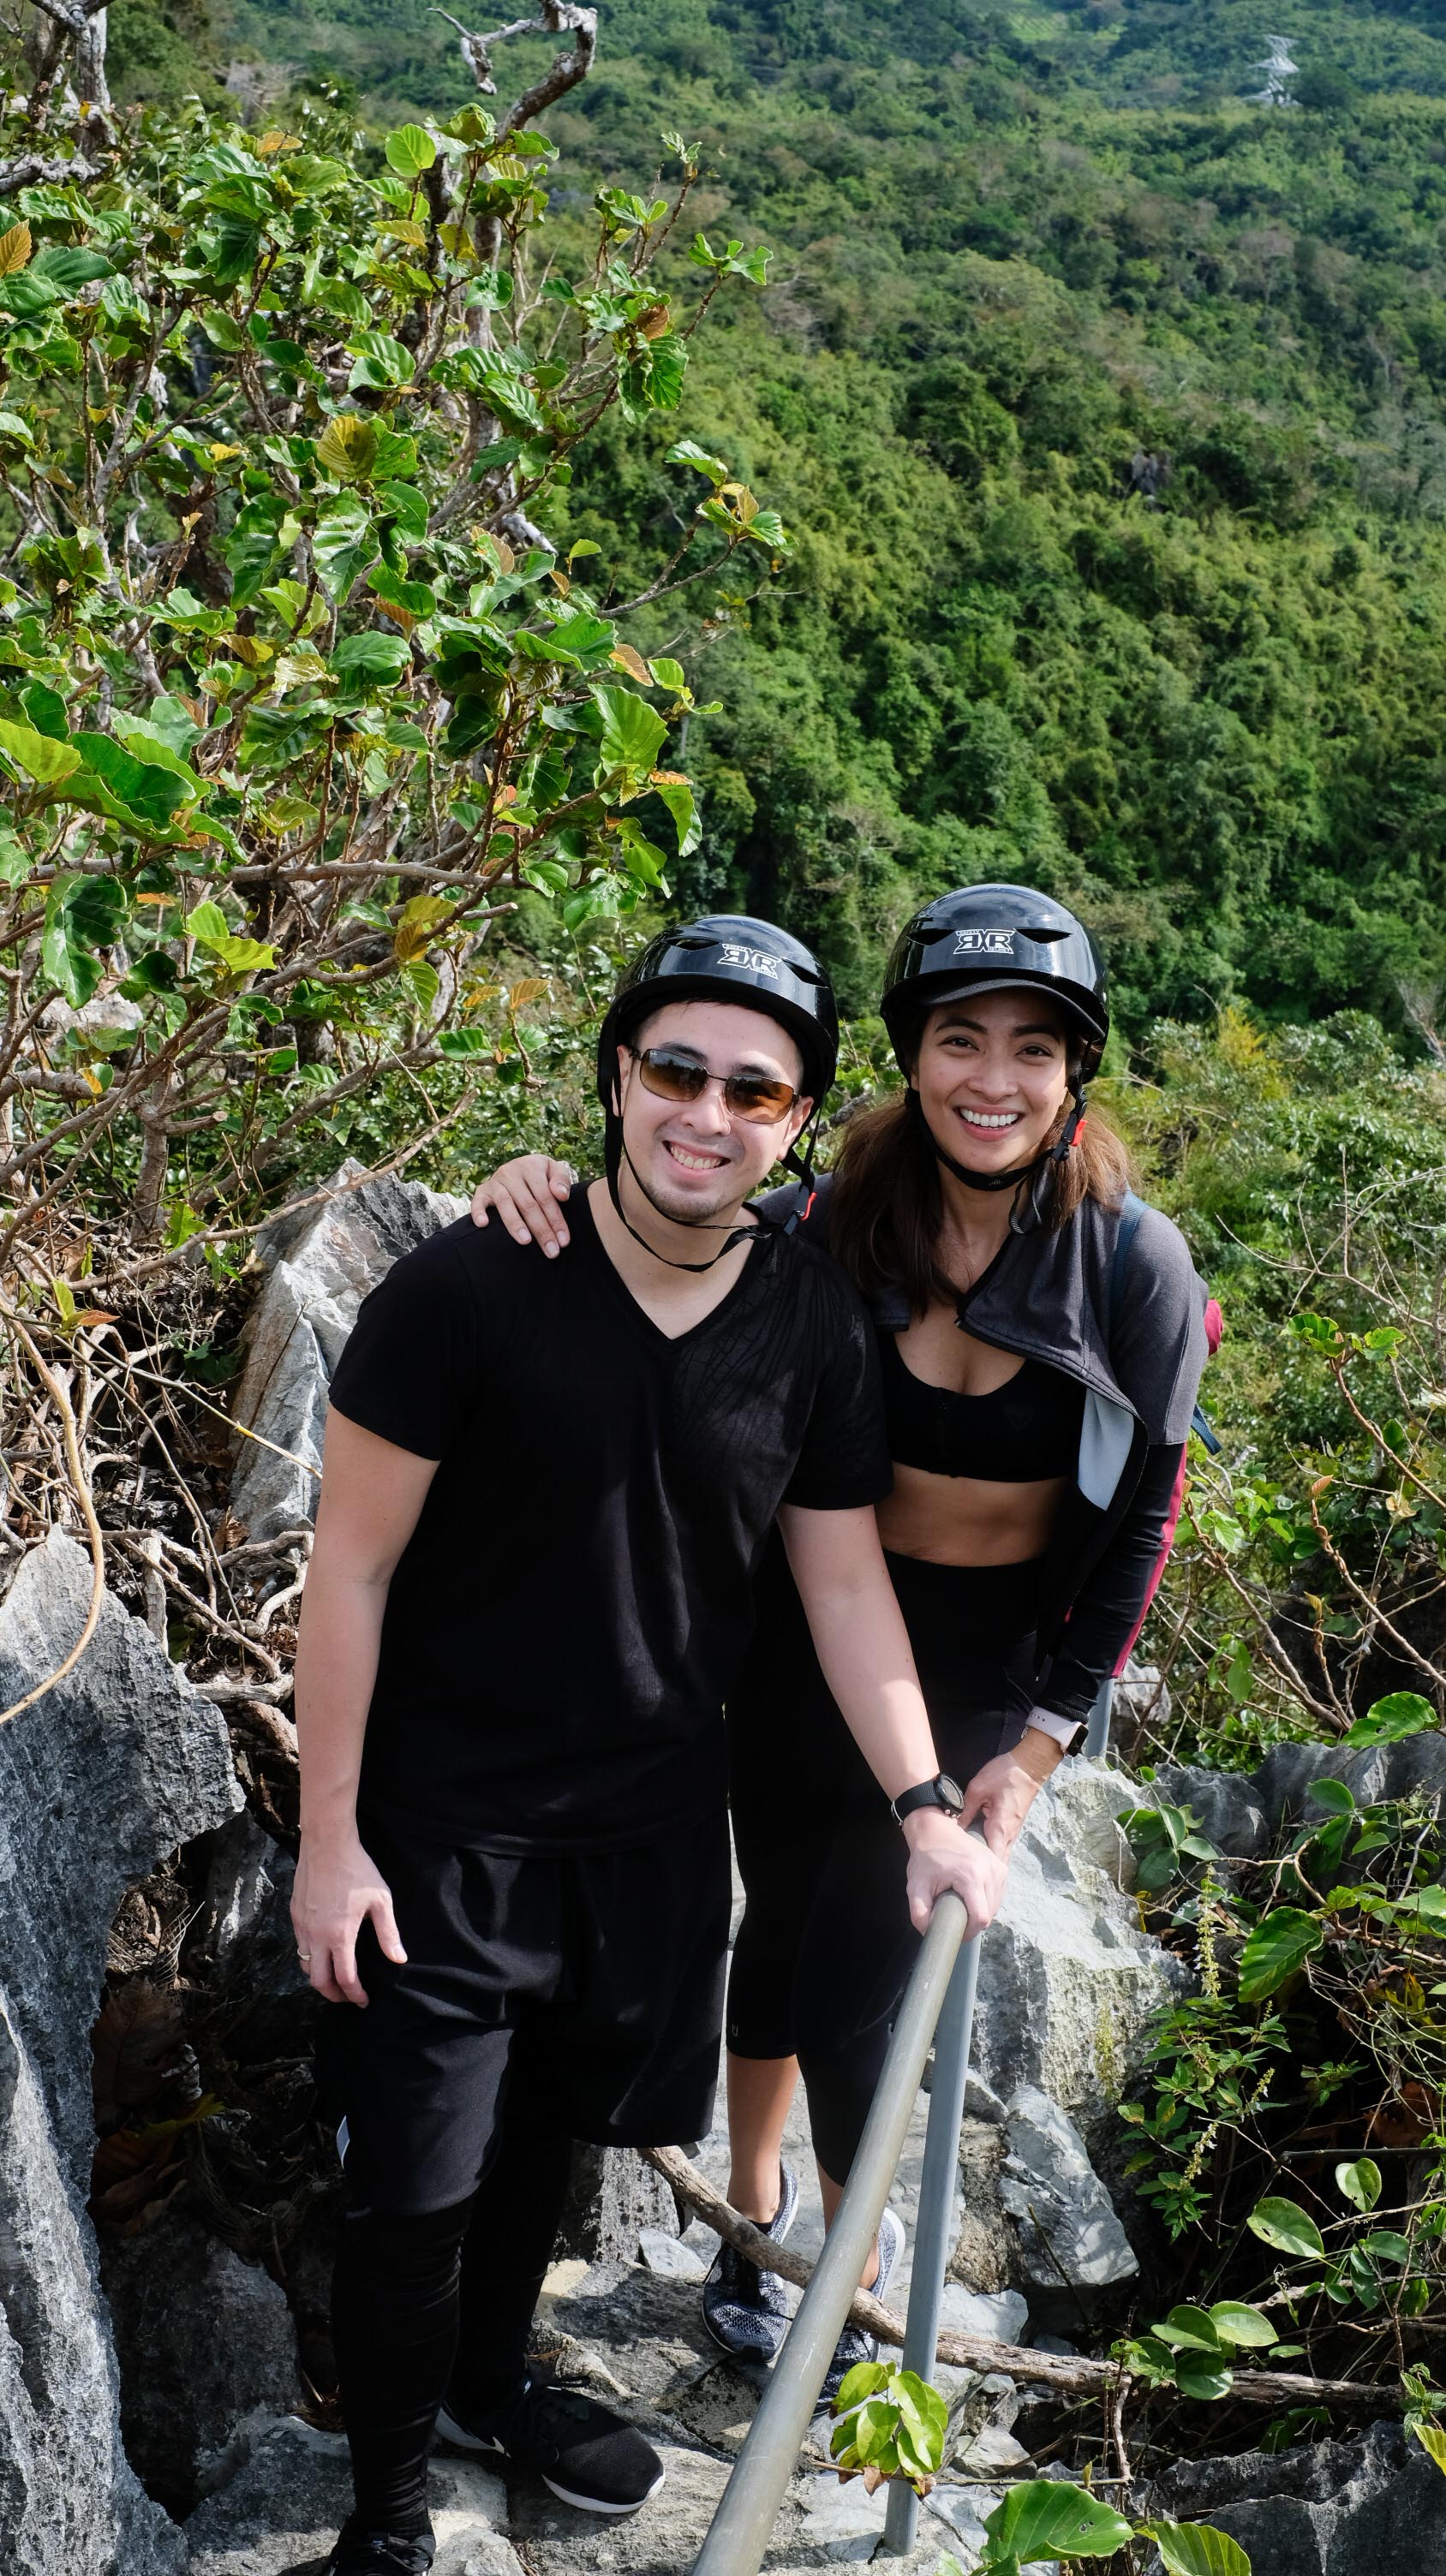
If you’re not an outdoorsy person nor physically active, fret not. Masungi Georeserve’s trail is lined with rocks and concrete blocks which makes it easy to cover the area. Though there are still inclines and flights of stairs you have to climb or descend it’s not that difficult.
Like any first time activity I try, I get nervous and barely slept the night before. Hahahuhu I always assume it’ll be challenging rather than be super confident about it. Truth is I find the trail both challenging and fun! As a first timer here are some things I learned that I wanna share with you all.
HERE ARE SOME THINGS YOU SHOULD KNOW:
The trail is for 13 years of age and above and is suitable for nature or outdoor enthusiasts, beginner hikers or groups of family and friends who want to experience nature and get away from the hustle and bustle of the city.
If your schedule is early in the morning like ours, best to eat light breakfast (yogurt, bread, oatmeal perhaps?) at least an hour before the actual trail. You’re only allowed to bring trail food (trail mix, fruits, nuts) and there’s not trash along the trail so whatever you bring in, you have to bring out after the trail. Don’t worry though there’s light snacks at the end of the trail.
When I asked Jeff what kind of shoes to wear, he told me I can wear any comfortable sneakers I own. Since the trail have paths naman na, you don’t necessarily need to wear trail shoes. So I wore my Flyknit Racers.
You need to schedule your trail and book via their website. Php 1,500/per person on weekdays and Php 1,800/person on weekends. Minimum of nine people per group and maximum of fourteen.
Bathrooms are found at the beginning and end of the trail. So best to go before you start the trail and if you’re into drinking water, best also to just bring a bottle (bring your own for there are refill stations naman) and take sips only when necessary because you don’t want to do the trail with a full bladder.
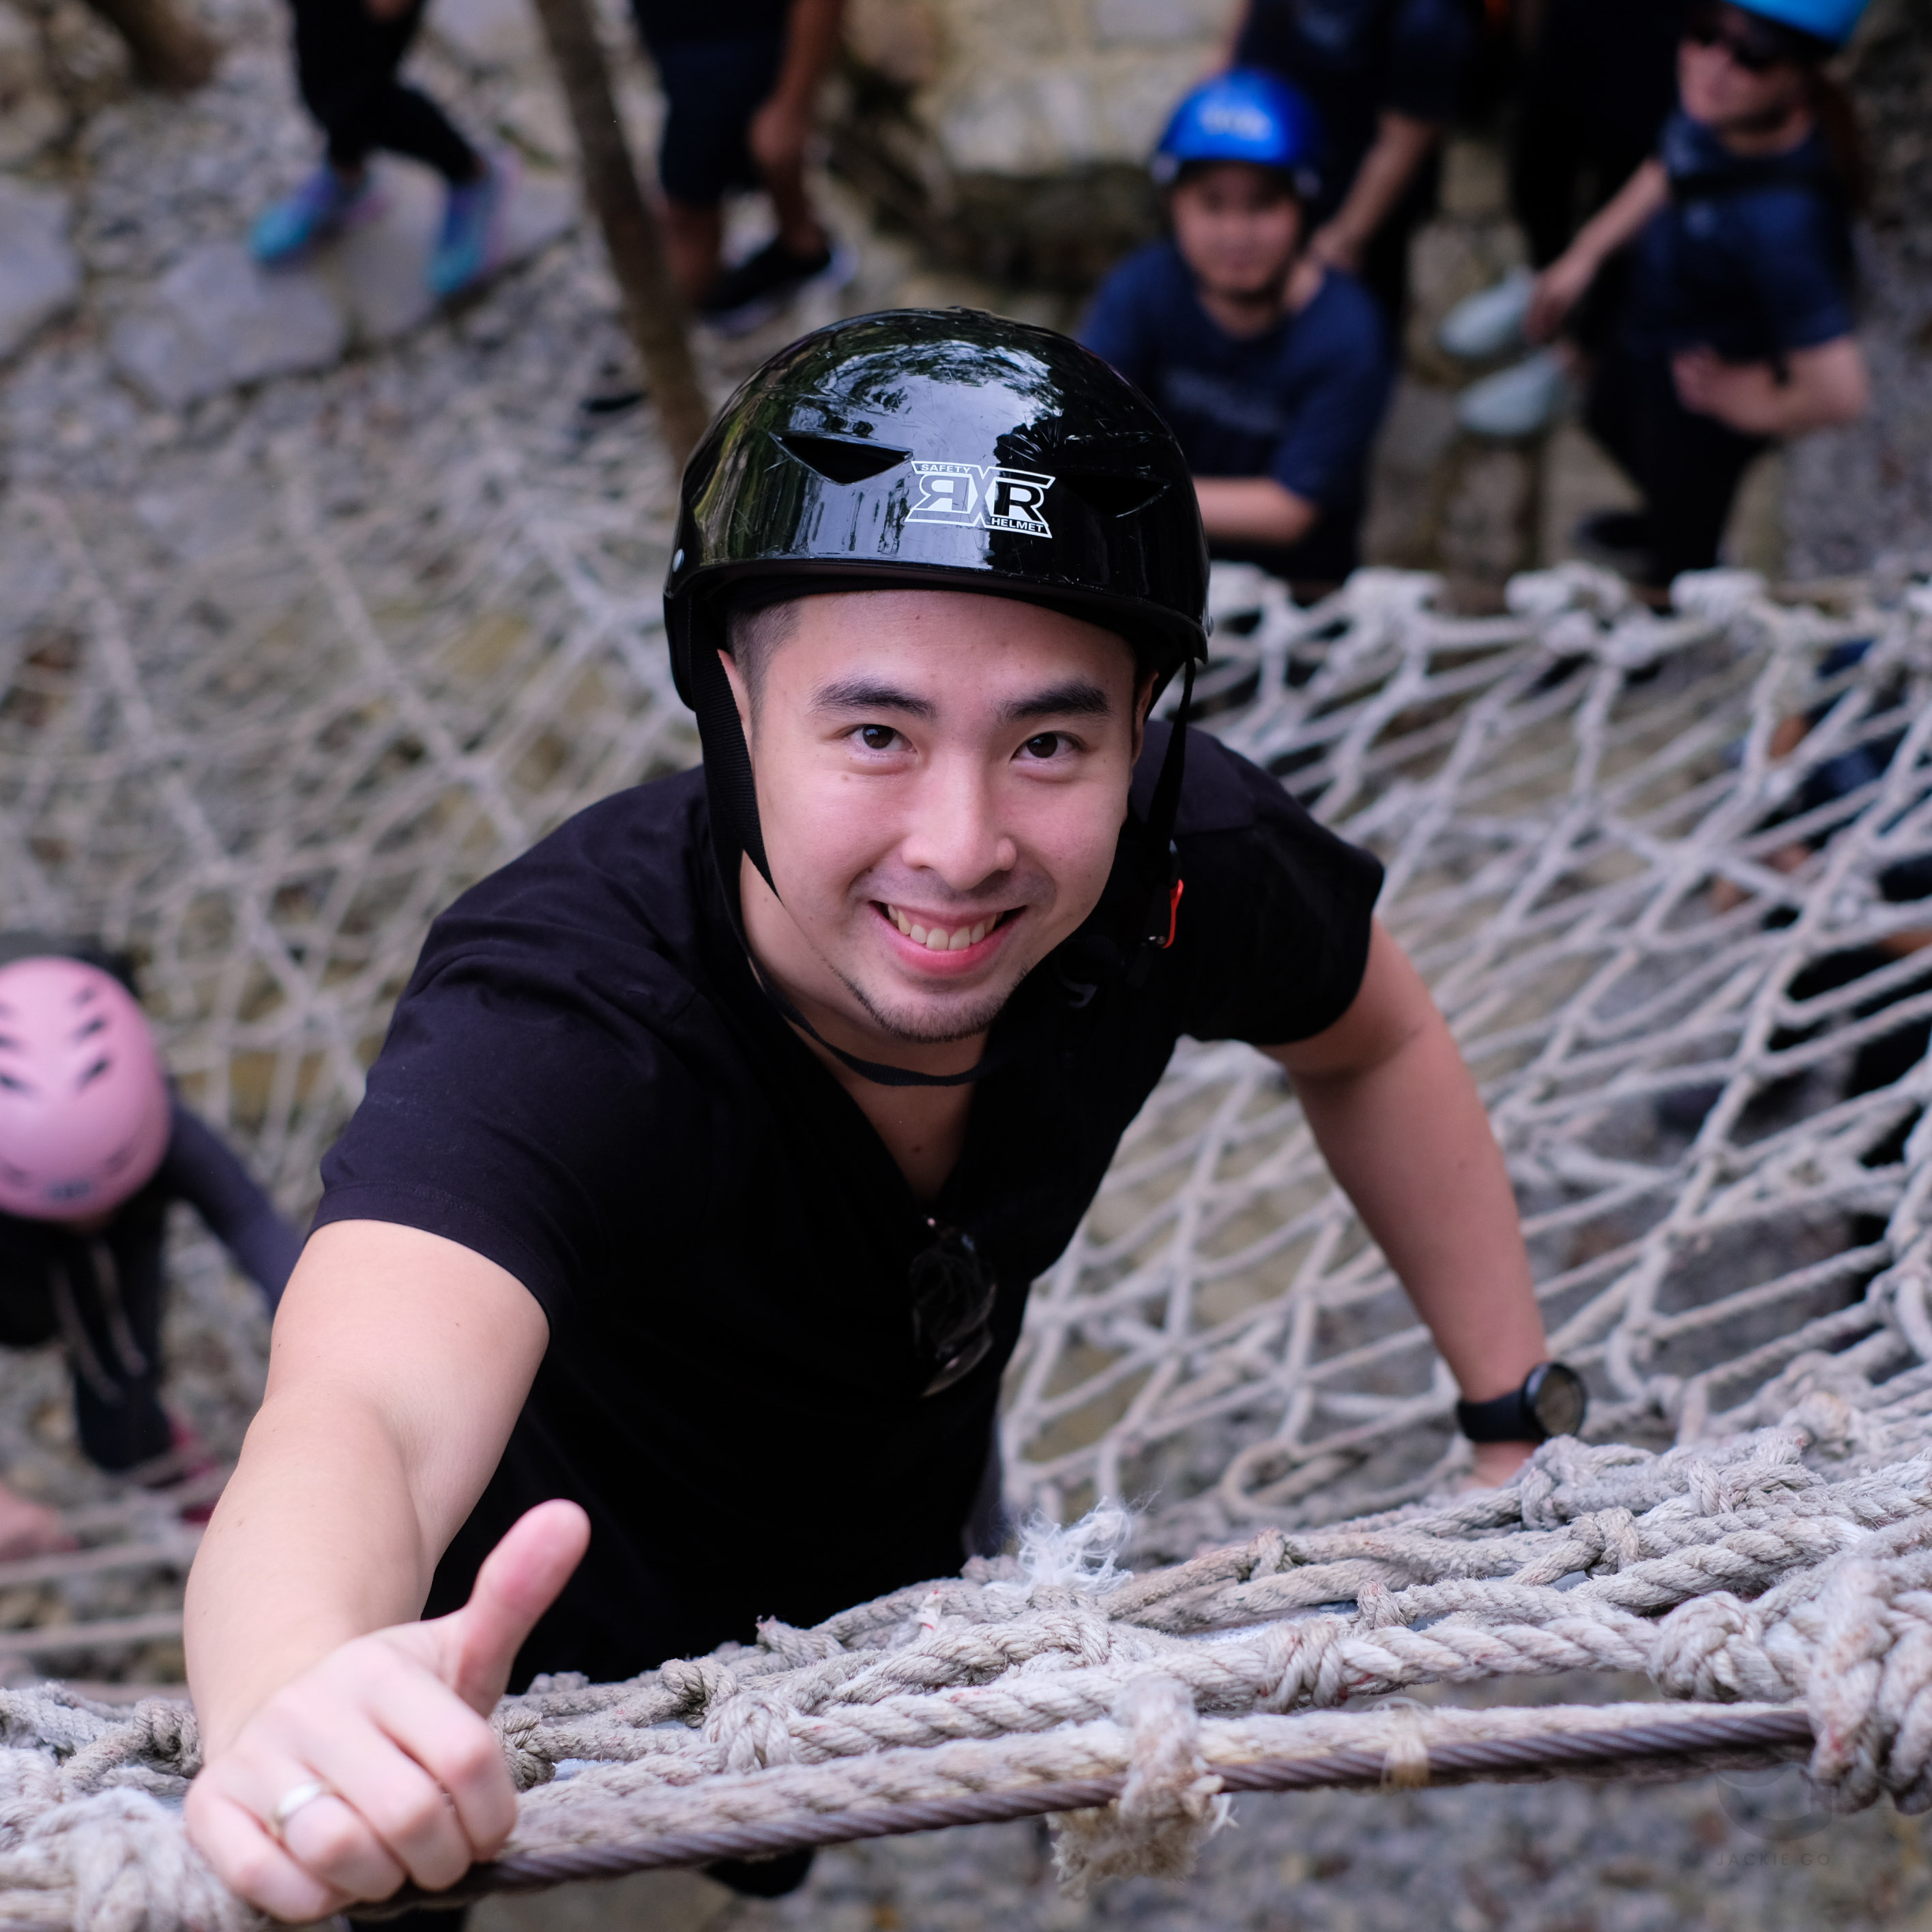
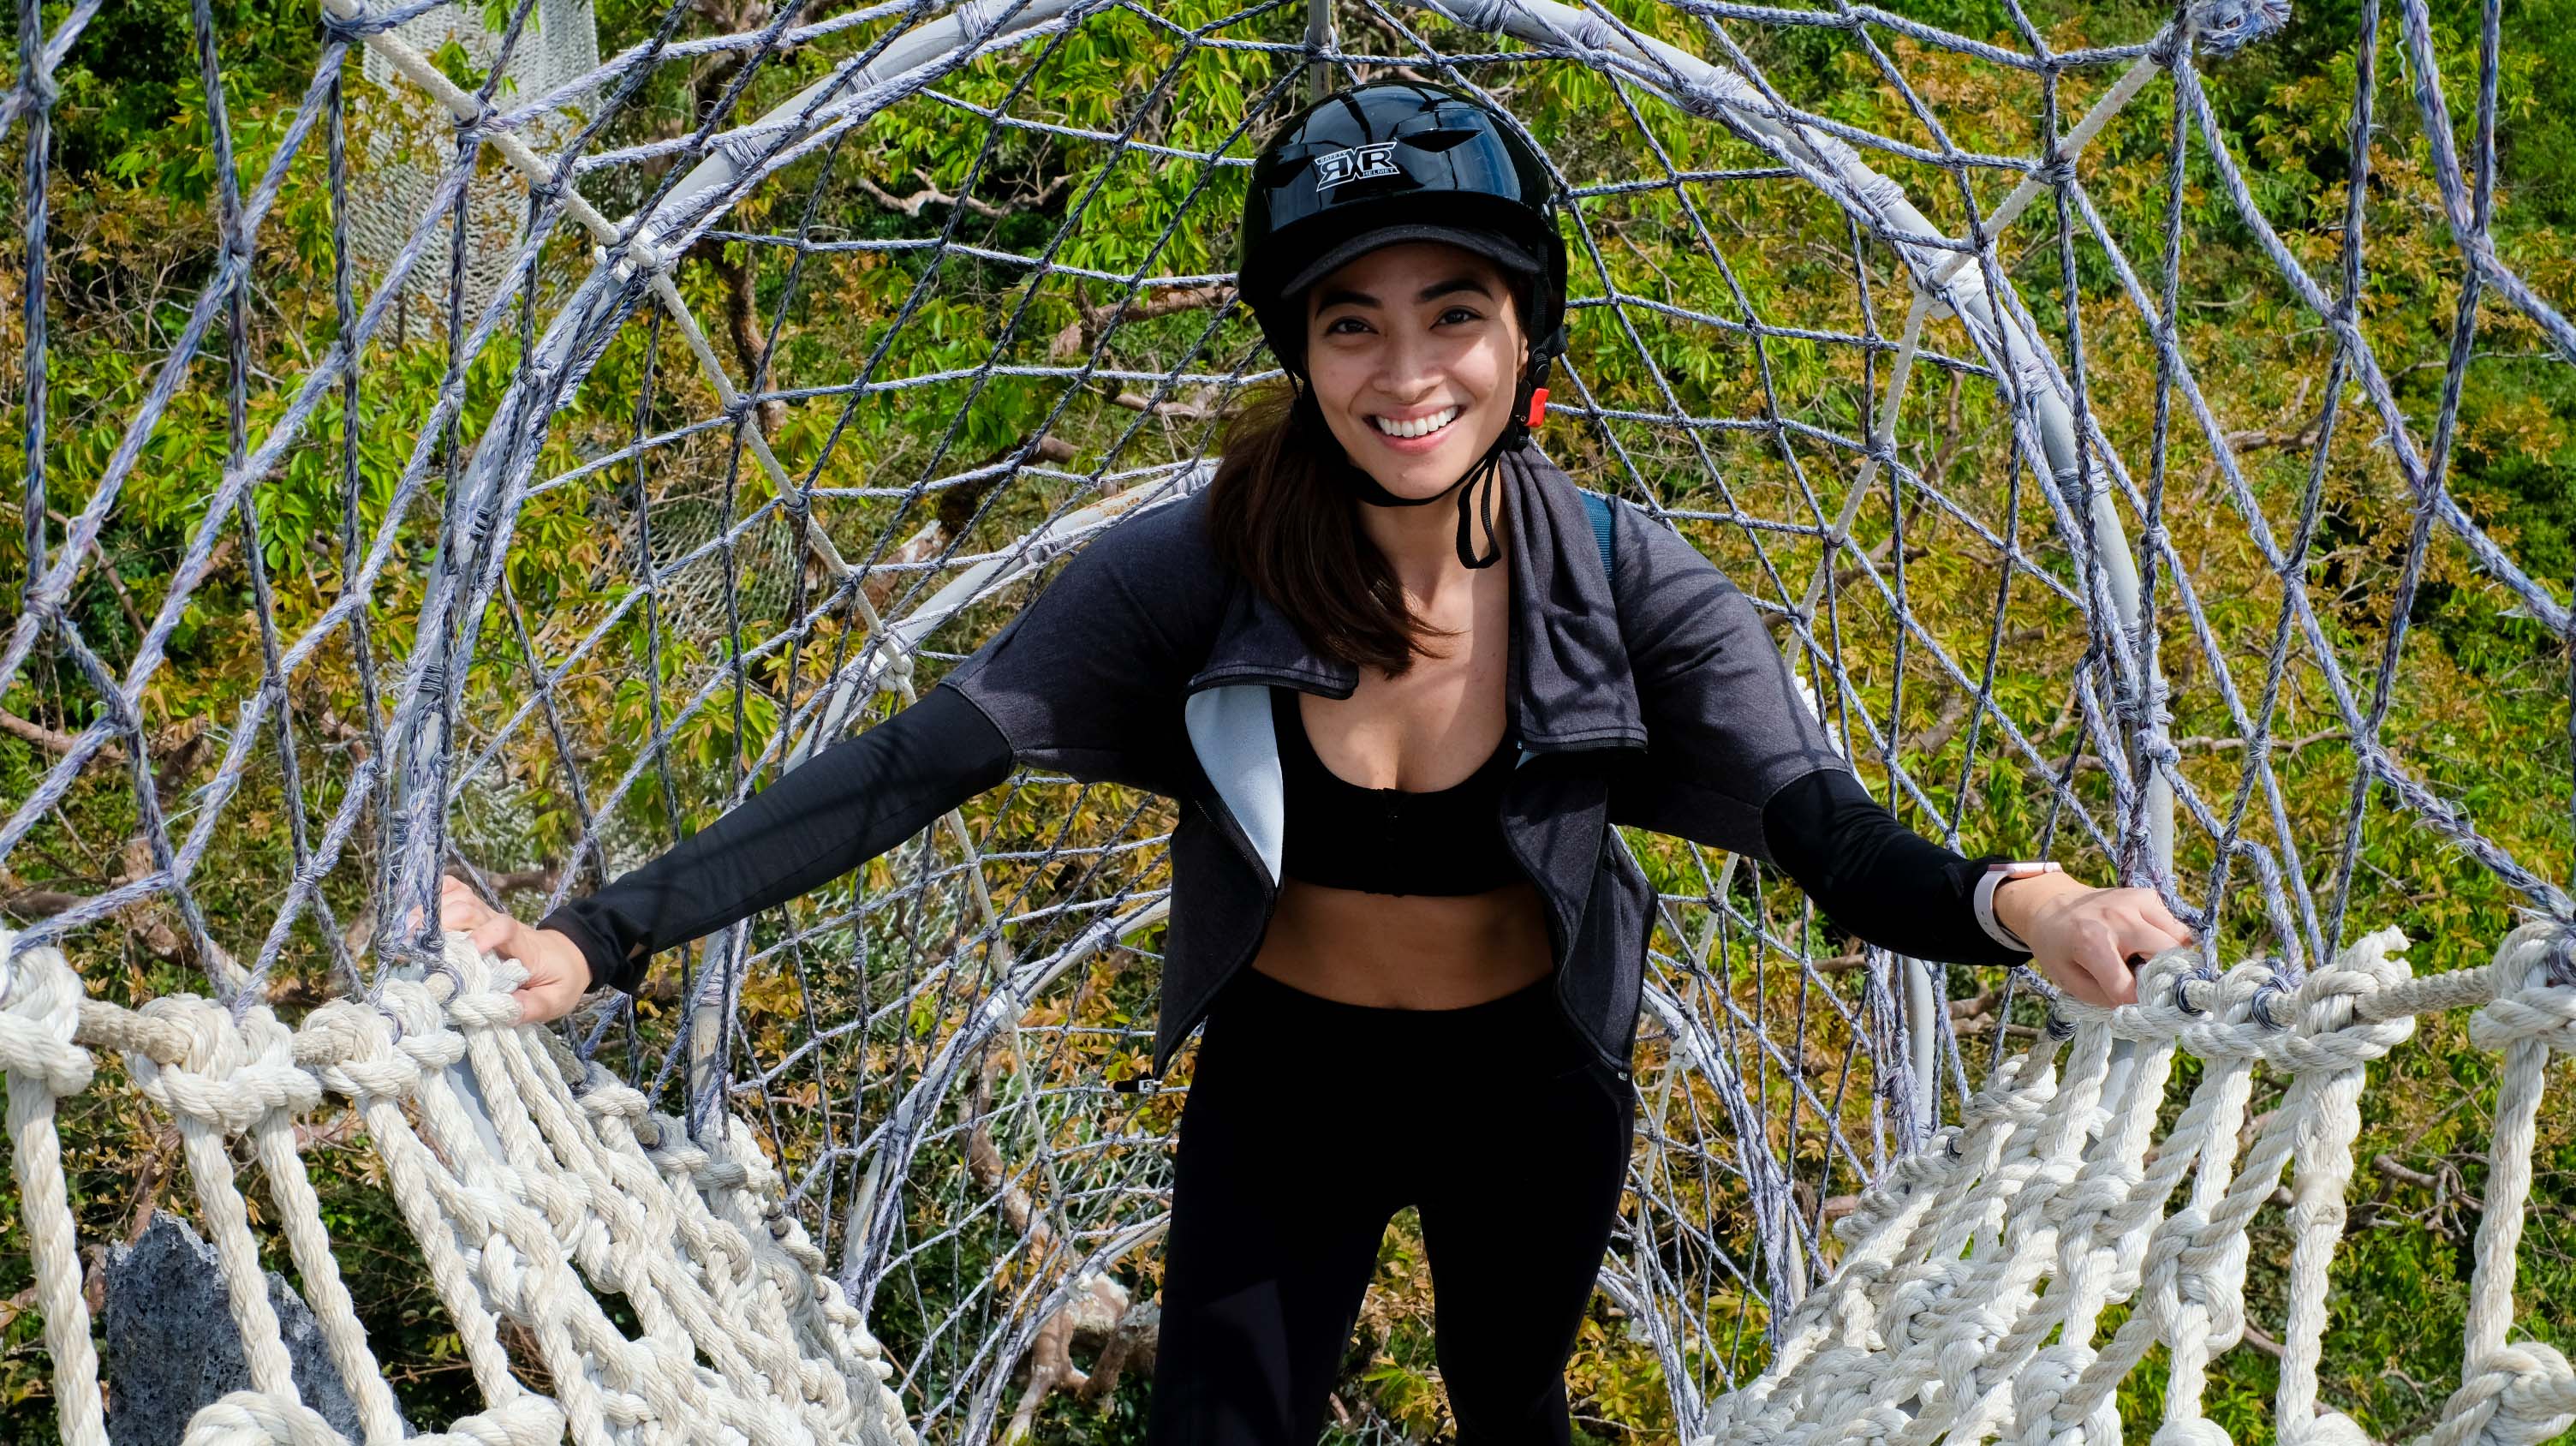
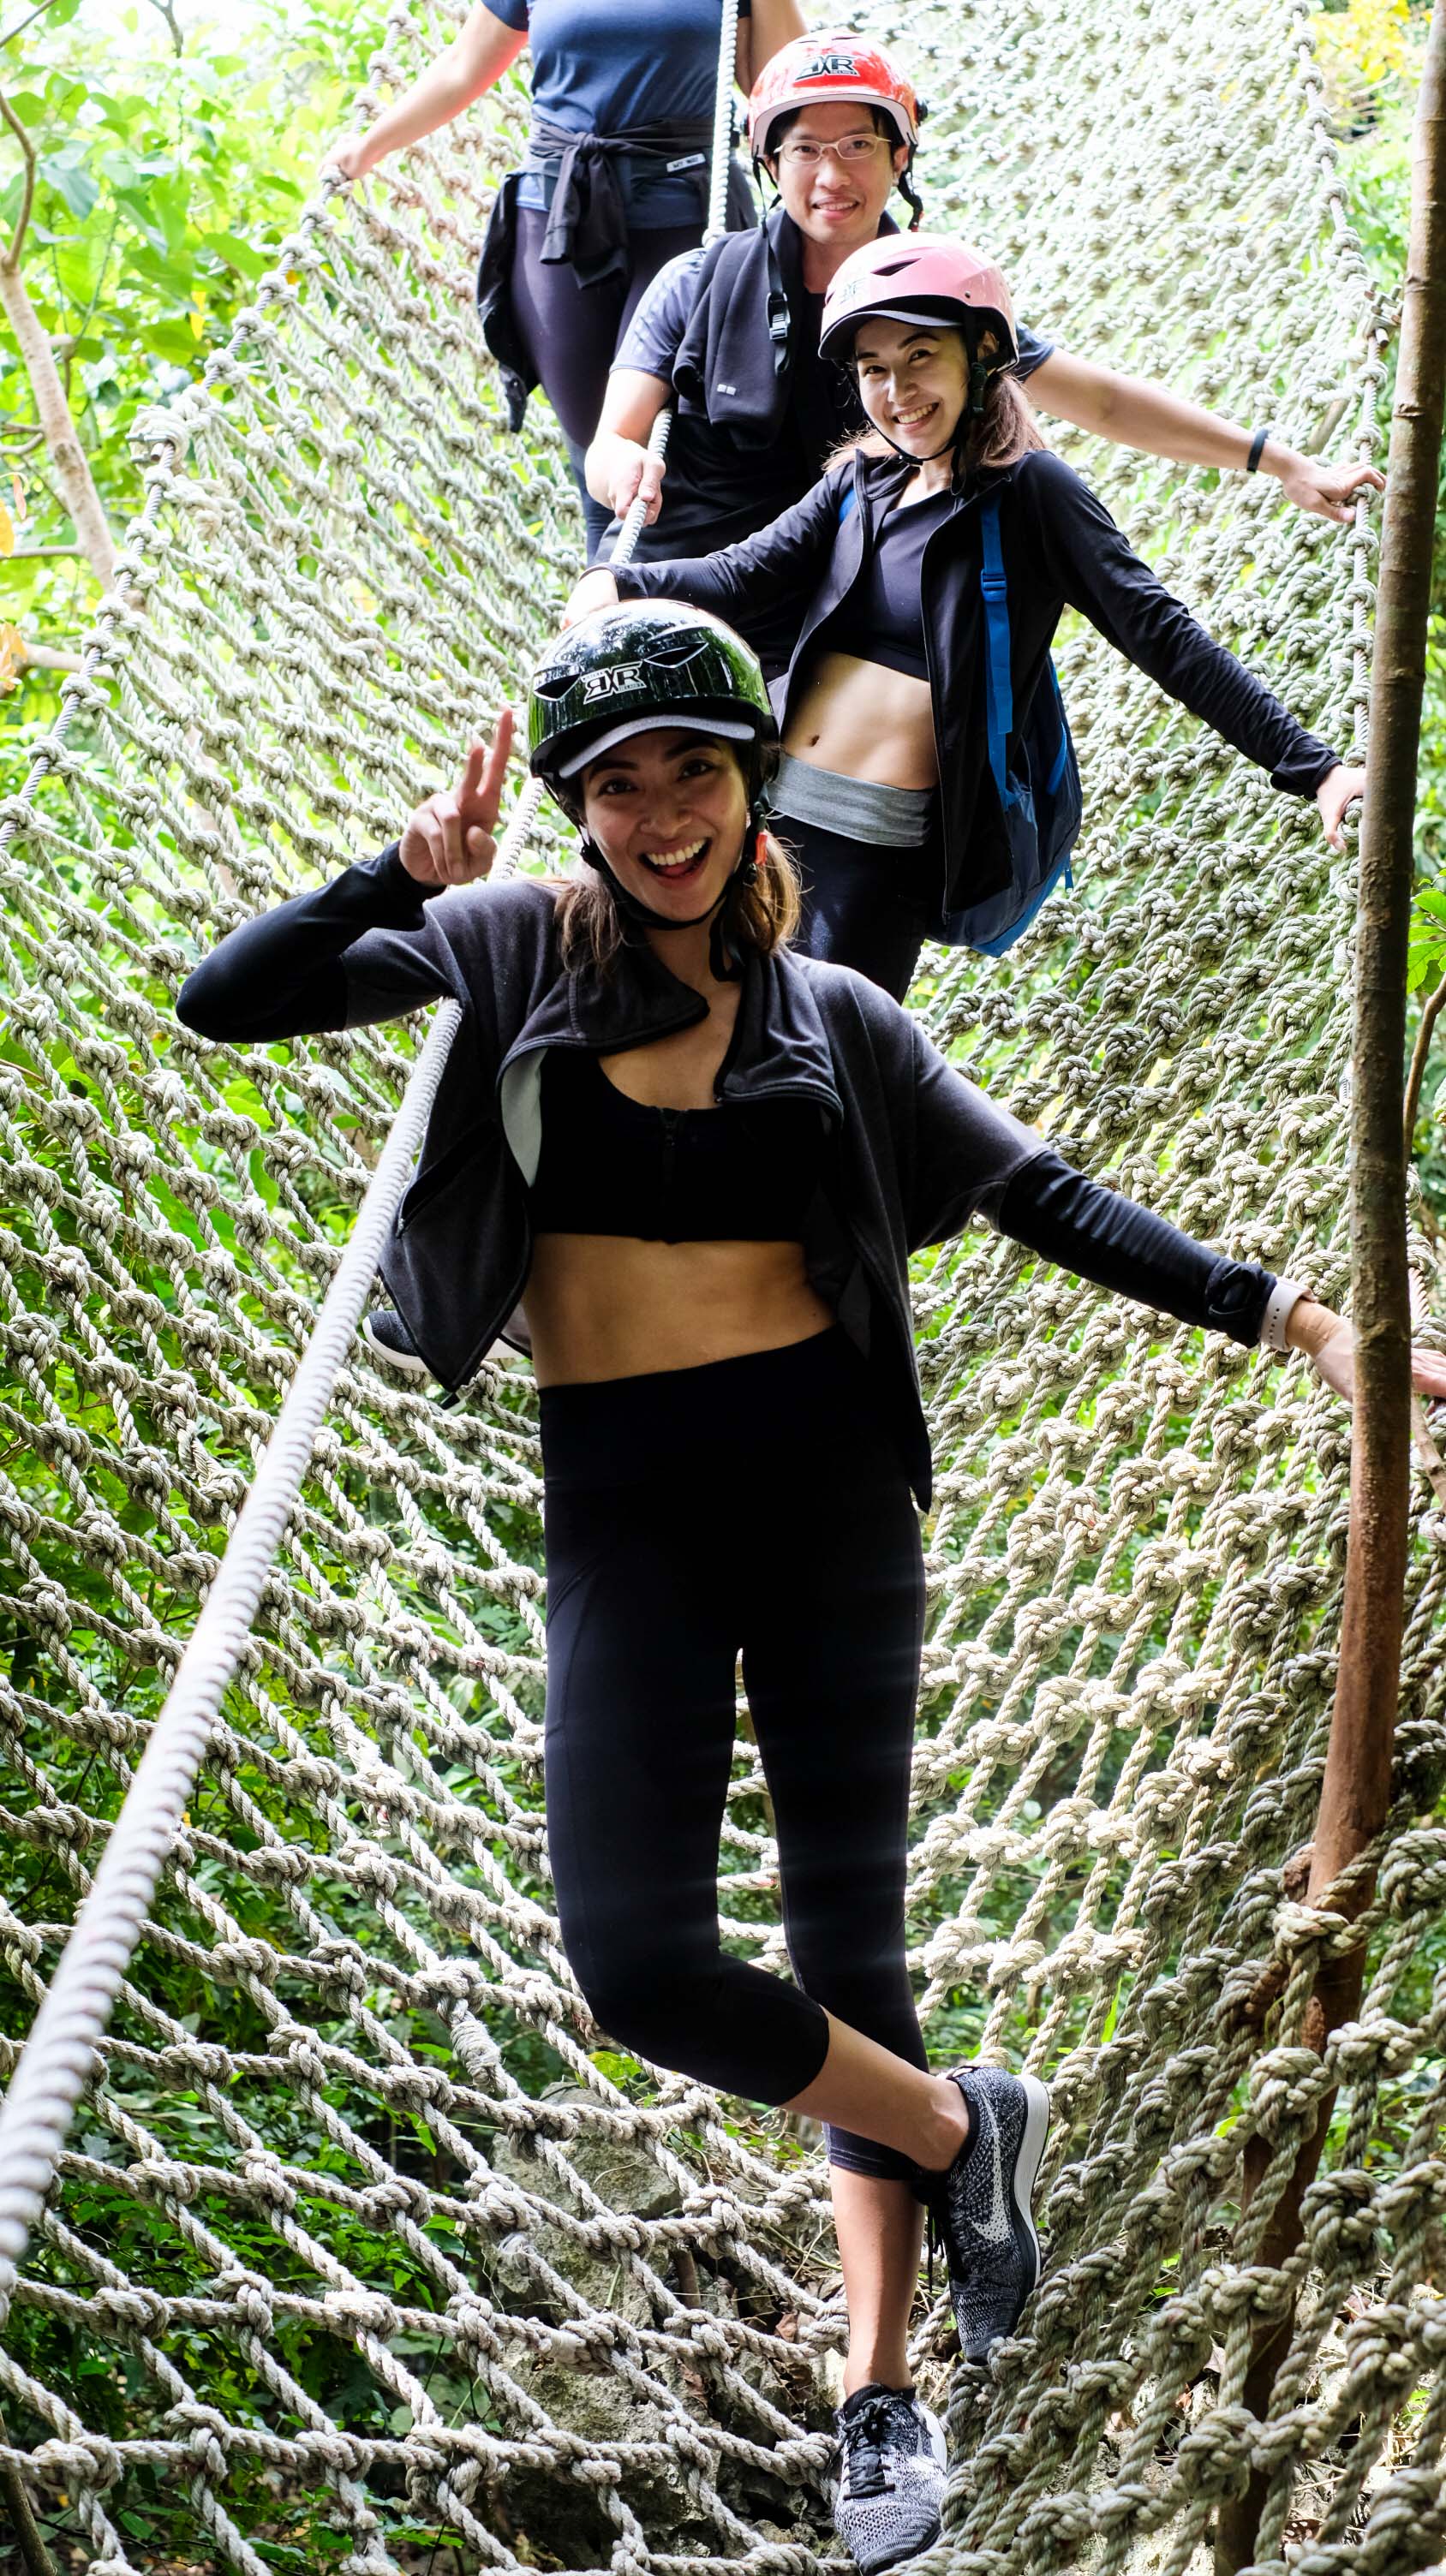
There are nine “obstacles” as what Alyssa said throughout the trail. Most of them are suspended with only ropes and cables to hold on to. So if you’re afraid of heights, this might be a way to overcome your fear? Heehee. Just don’t look down while climbing up or climbing down. Once you start ascending or descending, it’ll get easier and next thing you know, you’re already there! You’ll see a bit of description on each Instagram spot aka obstacle on this post.
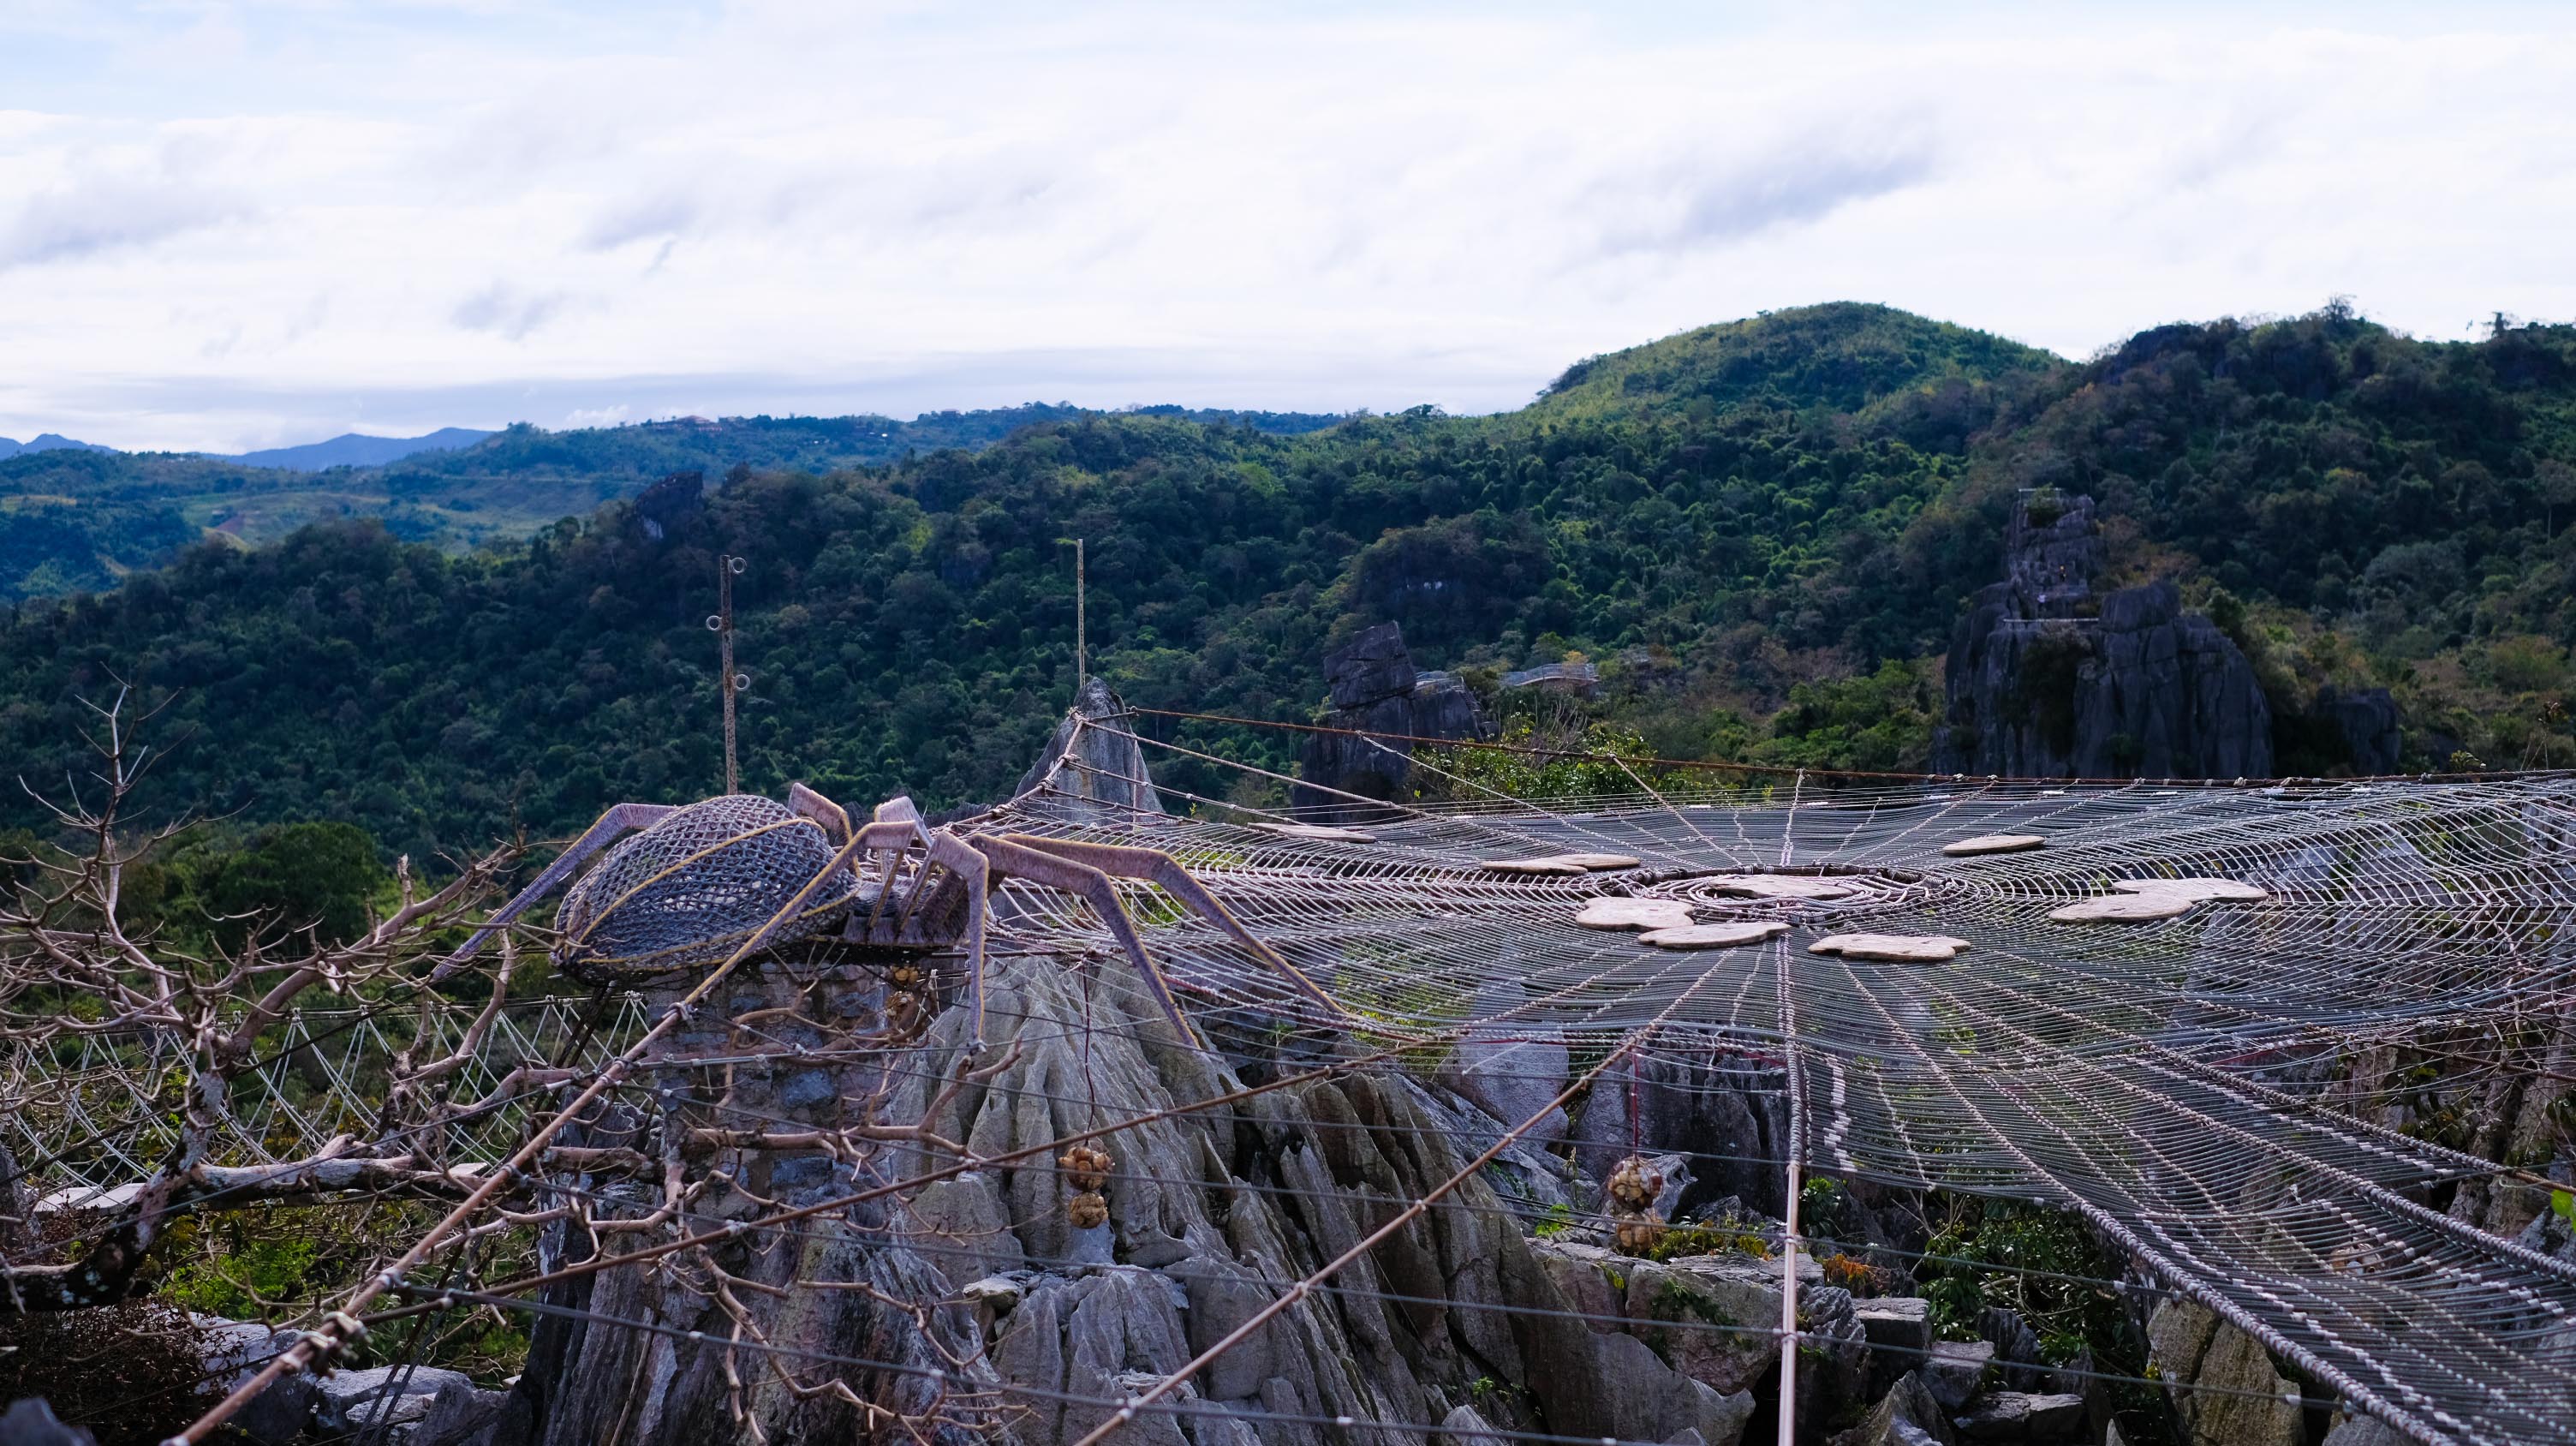
Sapot
Get a spectacular view of Laguna de Bay – the biggest lake in the Philippines – through this web-style viewing platform.
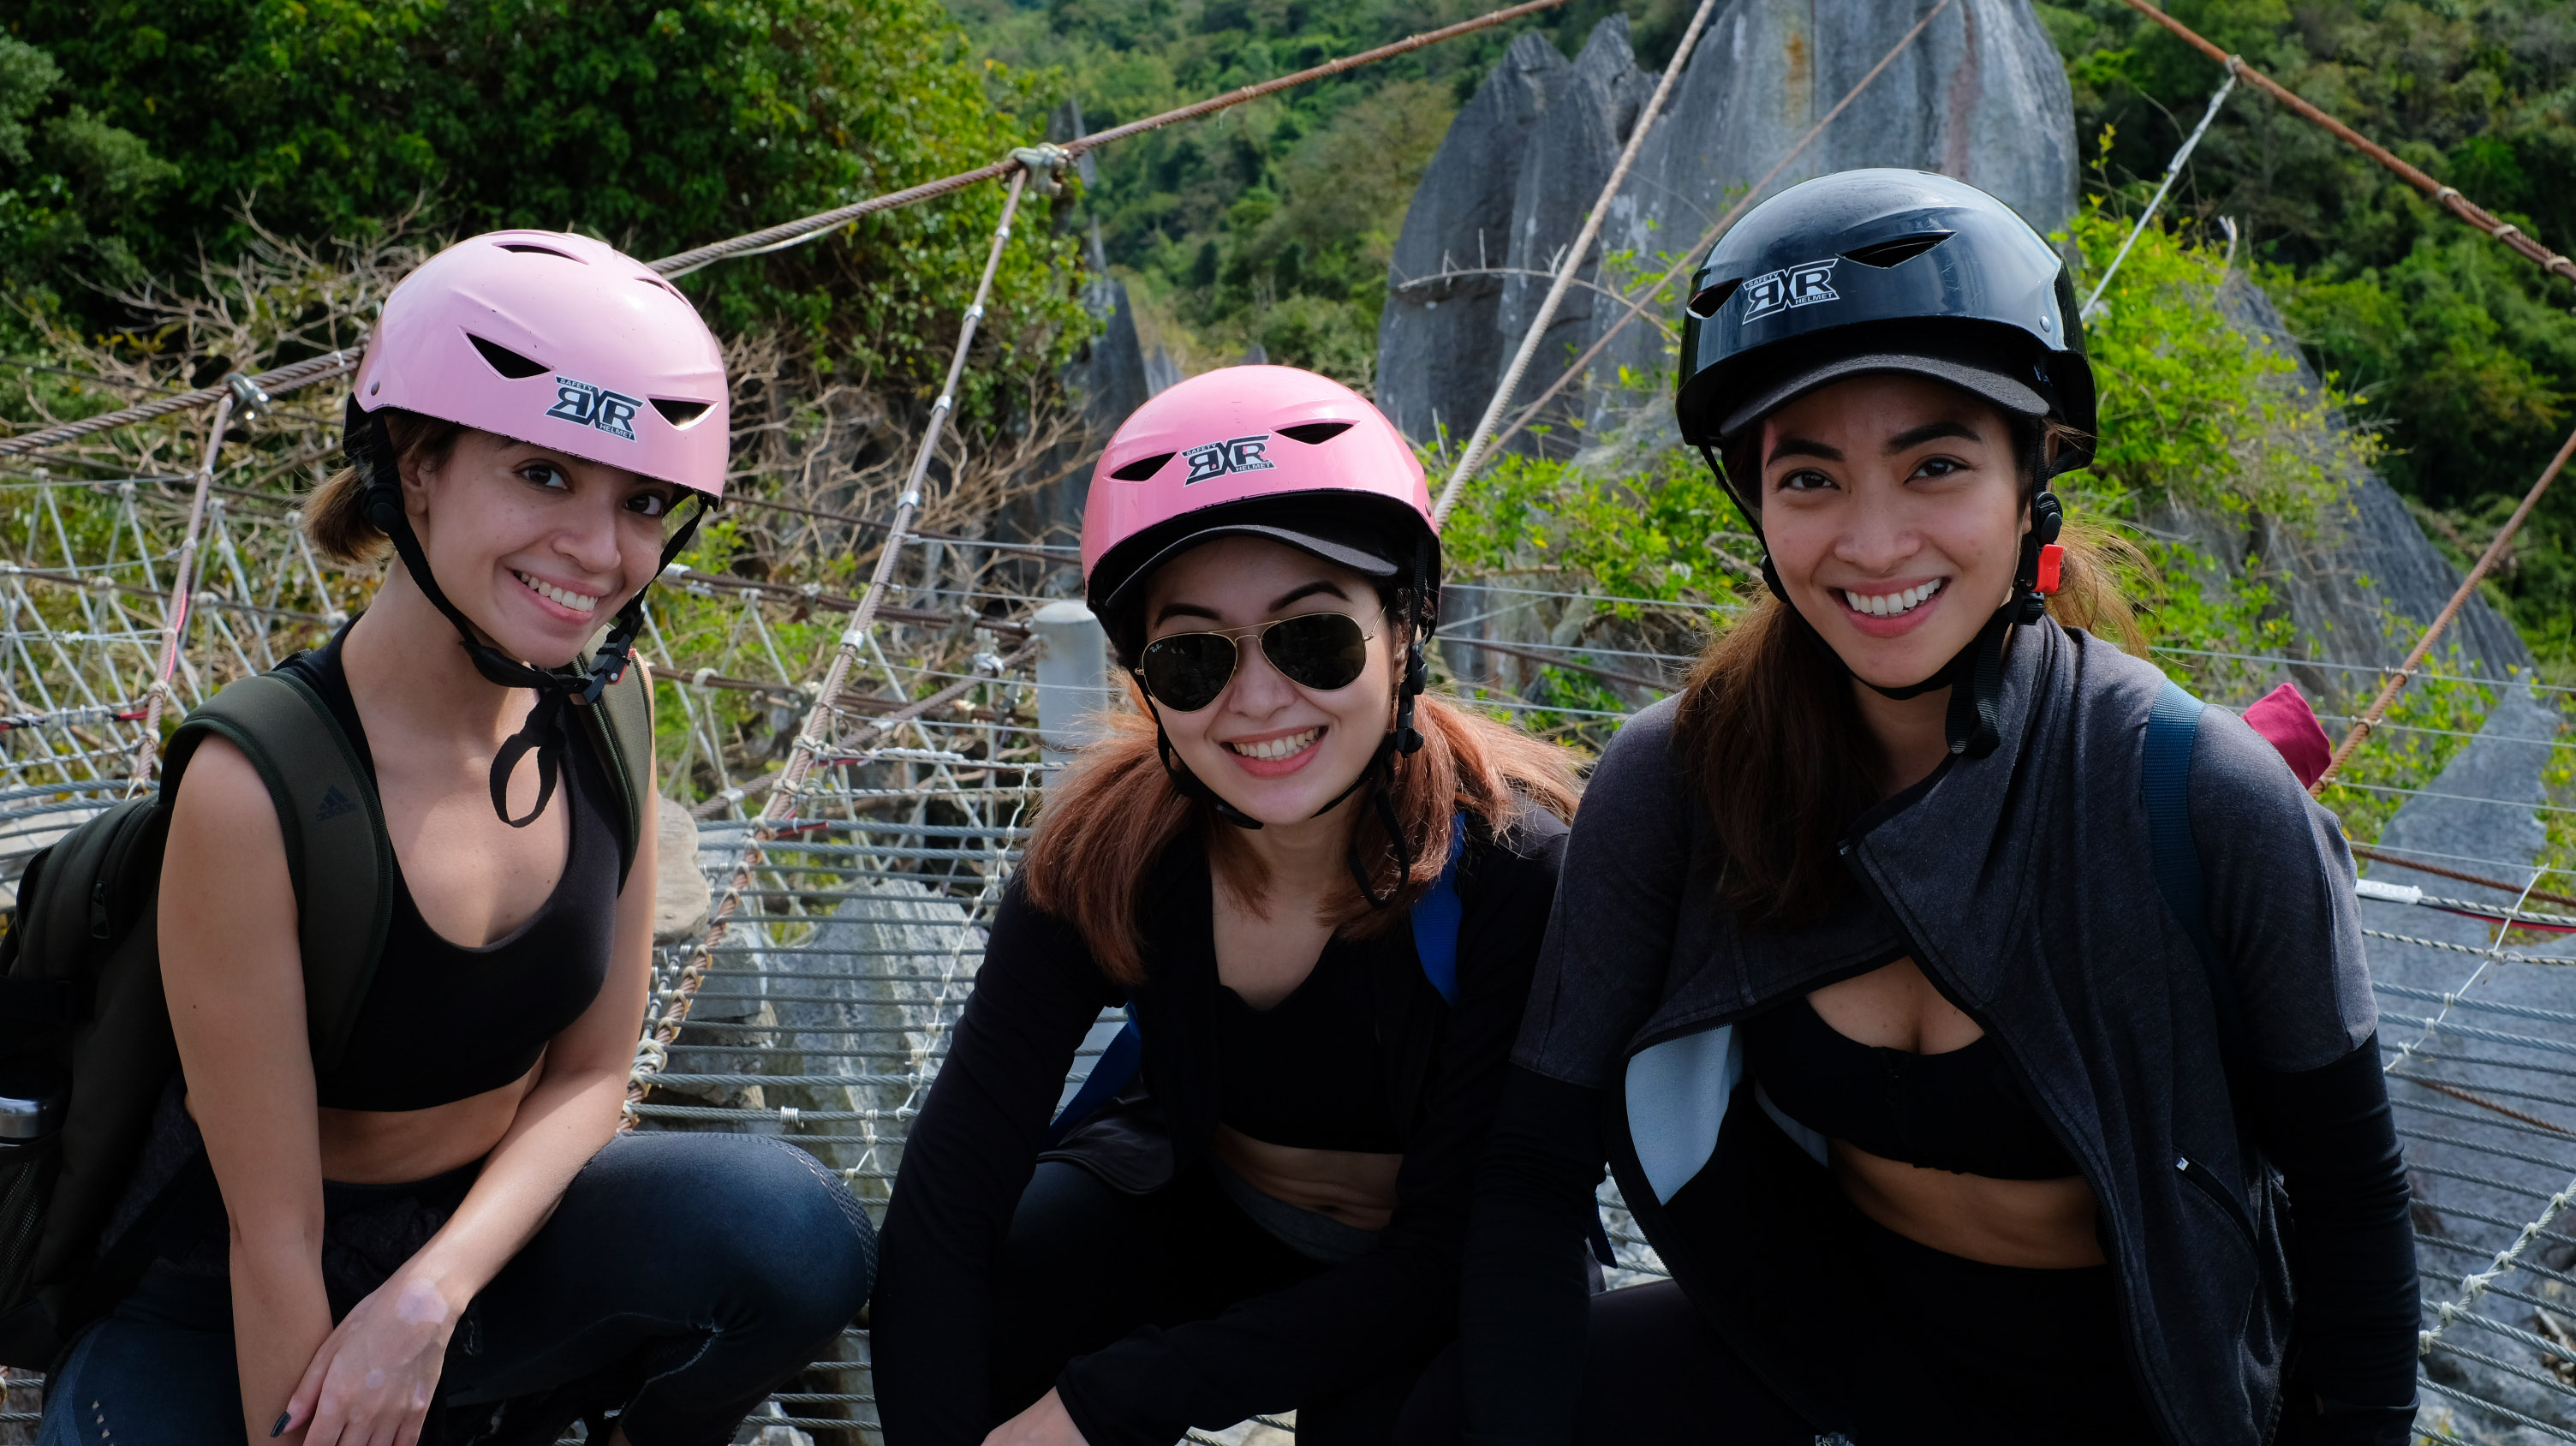
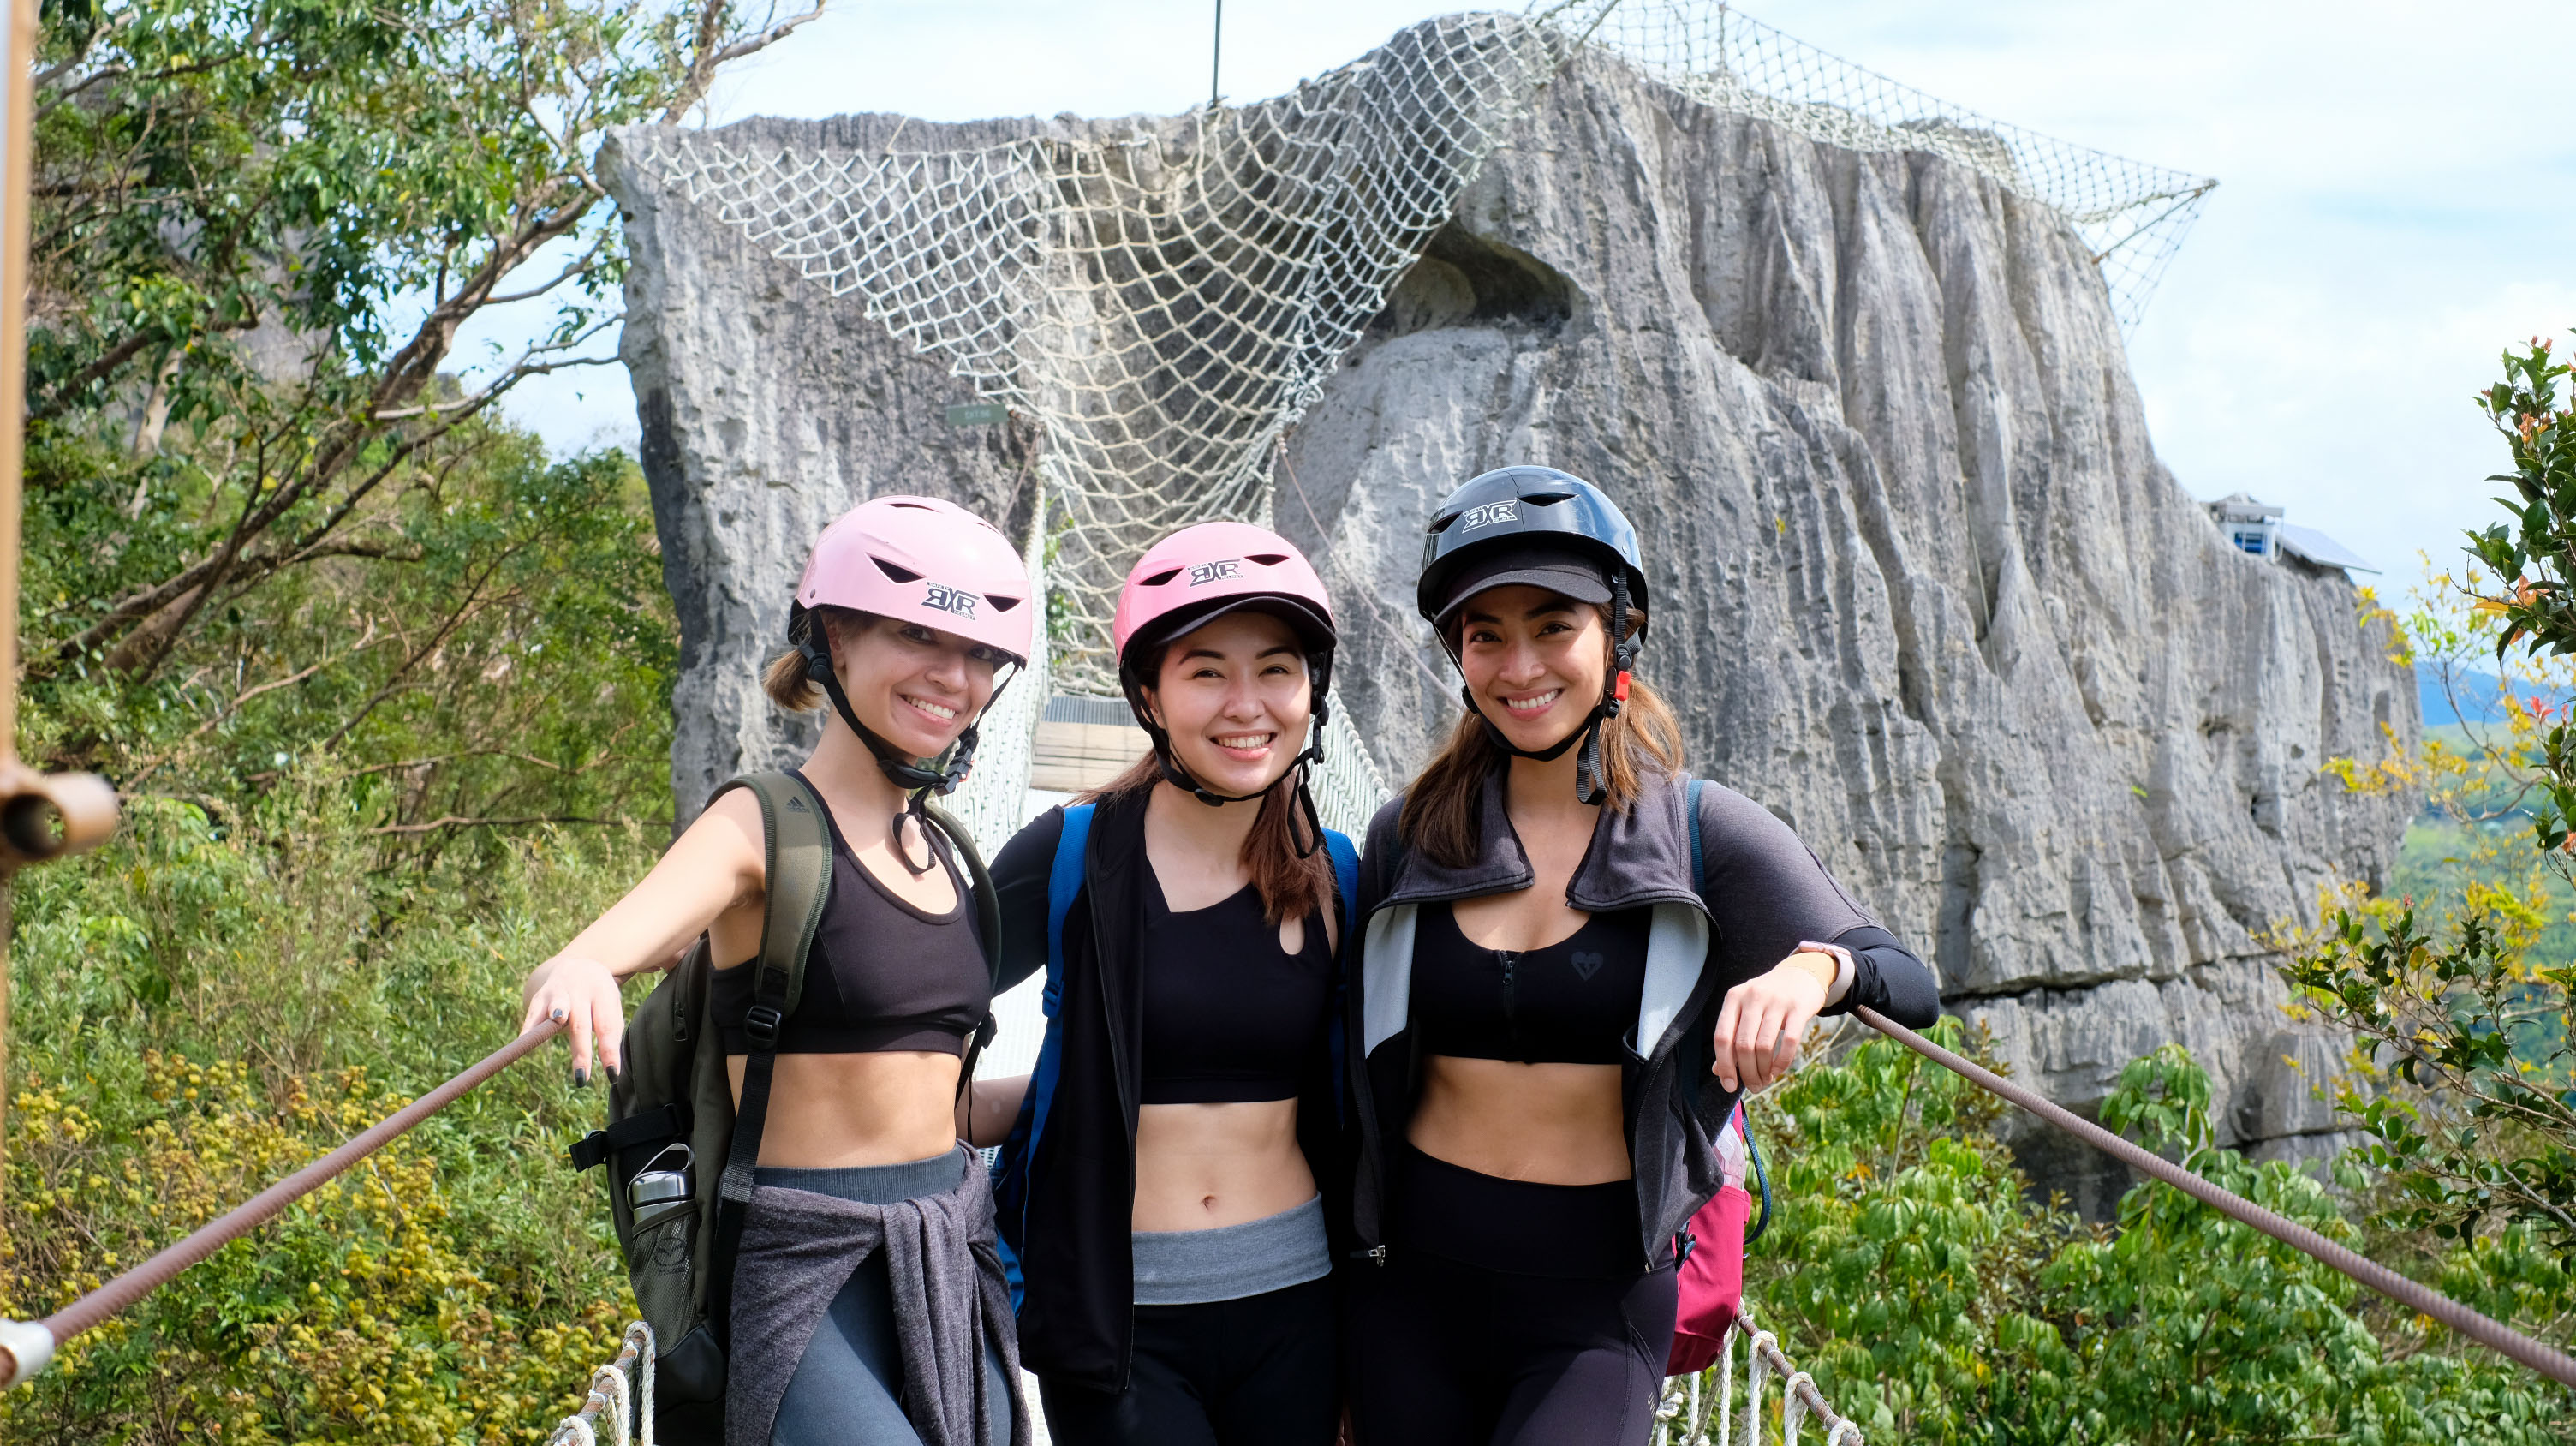
These two outdoor junkies made it more fun to experience Masungi!
Quick tip: do some leg workouts particularly lunges and squats to get your ready for the trail. There are some areas where you have to sort of do duck lunges because you’re required you to do so–some areas are narrow but you won’t necessarily have to crawl naman.
I love that there are areas where you can rest and just take it all in.
Another quick tip: Bring a backpack or drawstring bag that carries only your essentials: towel or extra shirt, bottle of water, trail food (nuts or granola), phone or camera. It’ll make ascending a flight of stairs or climb a rope wall easier.
Though Smart has good reception in Masungi, our park ranger advised us not to bring out and use our phones while ascending or descending the different areas because once they accidentally fall down there’s no guarantee we can get them back (hello few feet above ground!) So we only brought out our cameras and made sure they’re securely strapped on us. Used only our phones at the resting areas.
All smiles before climbing down the Bayawak.
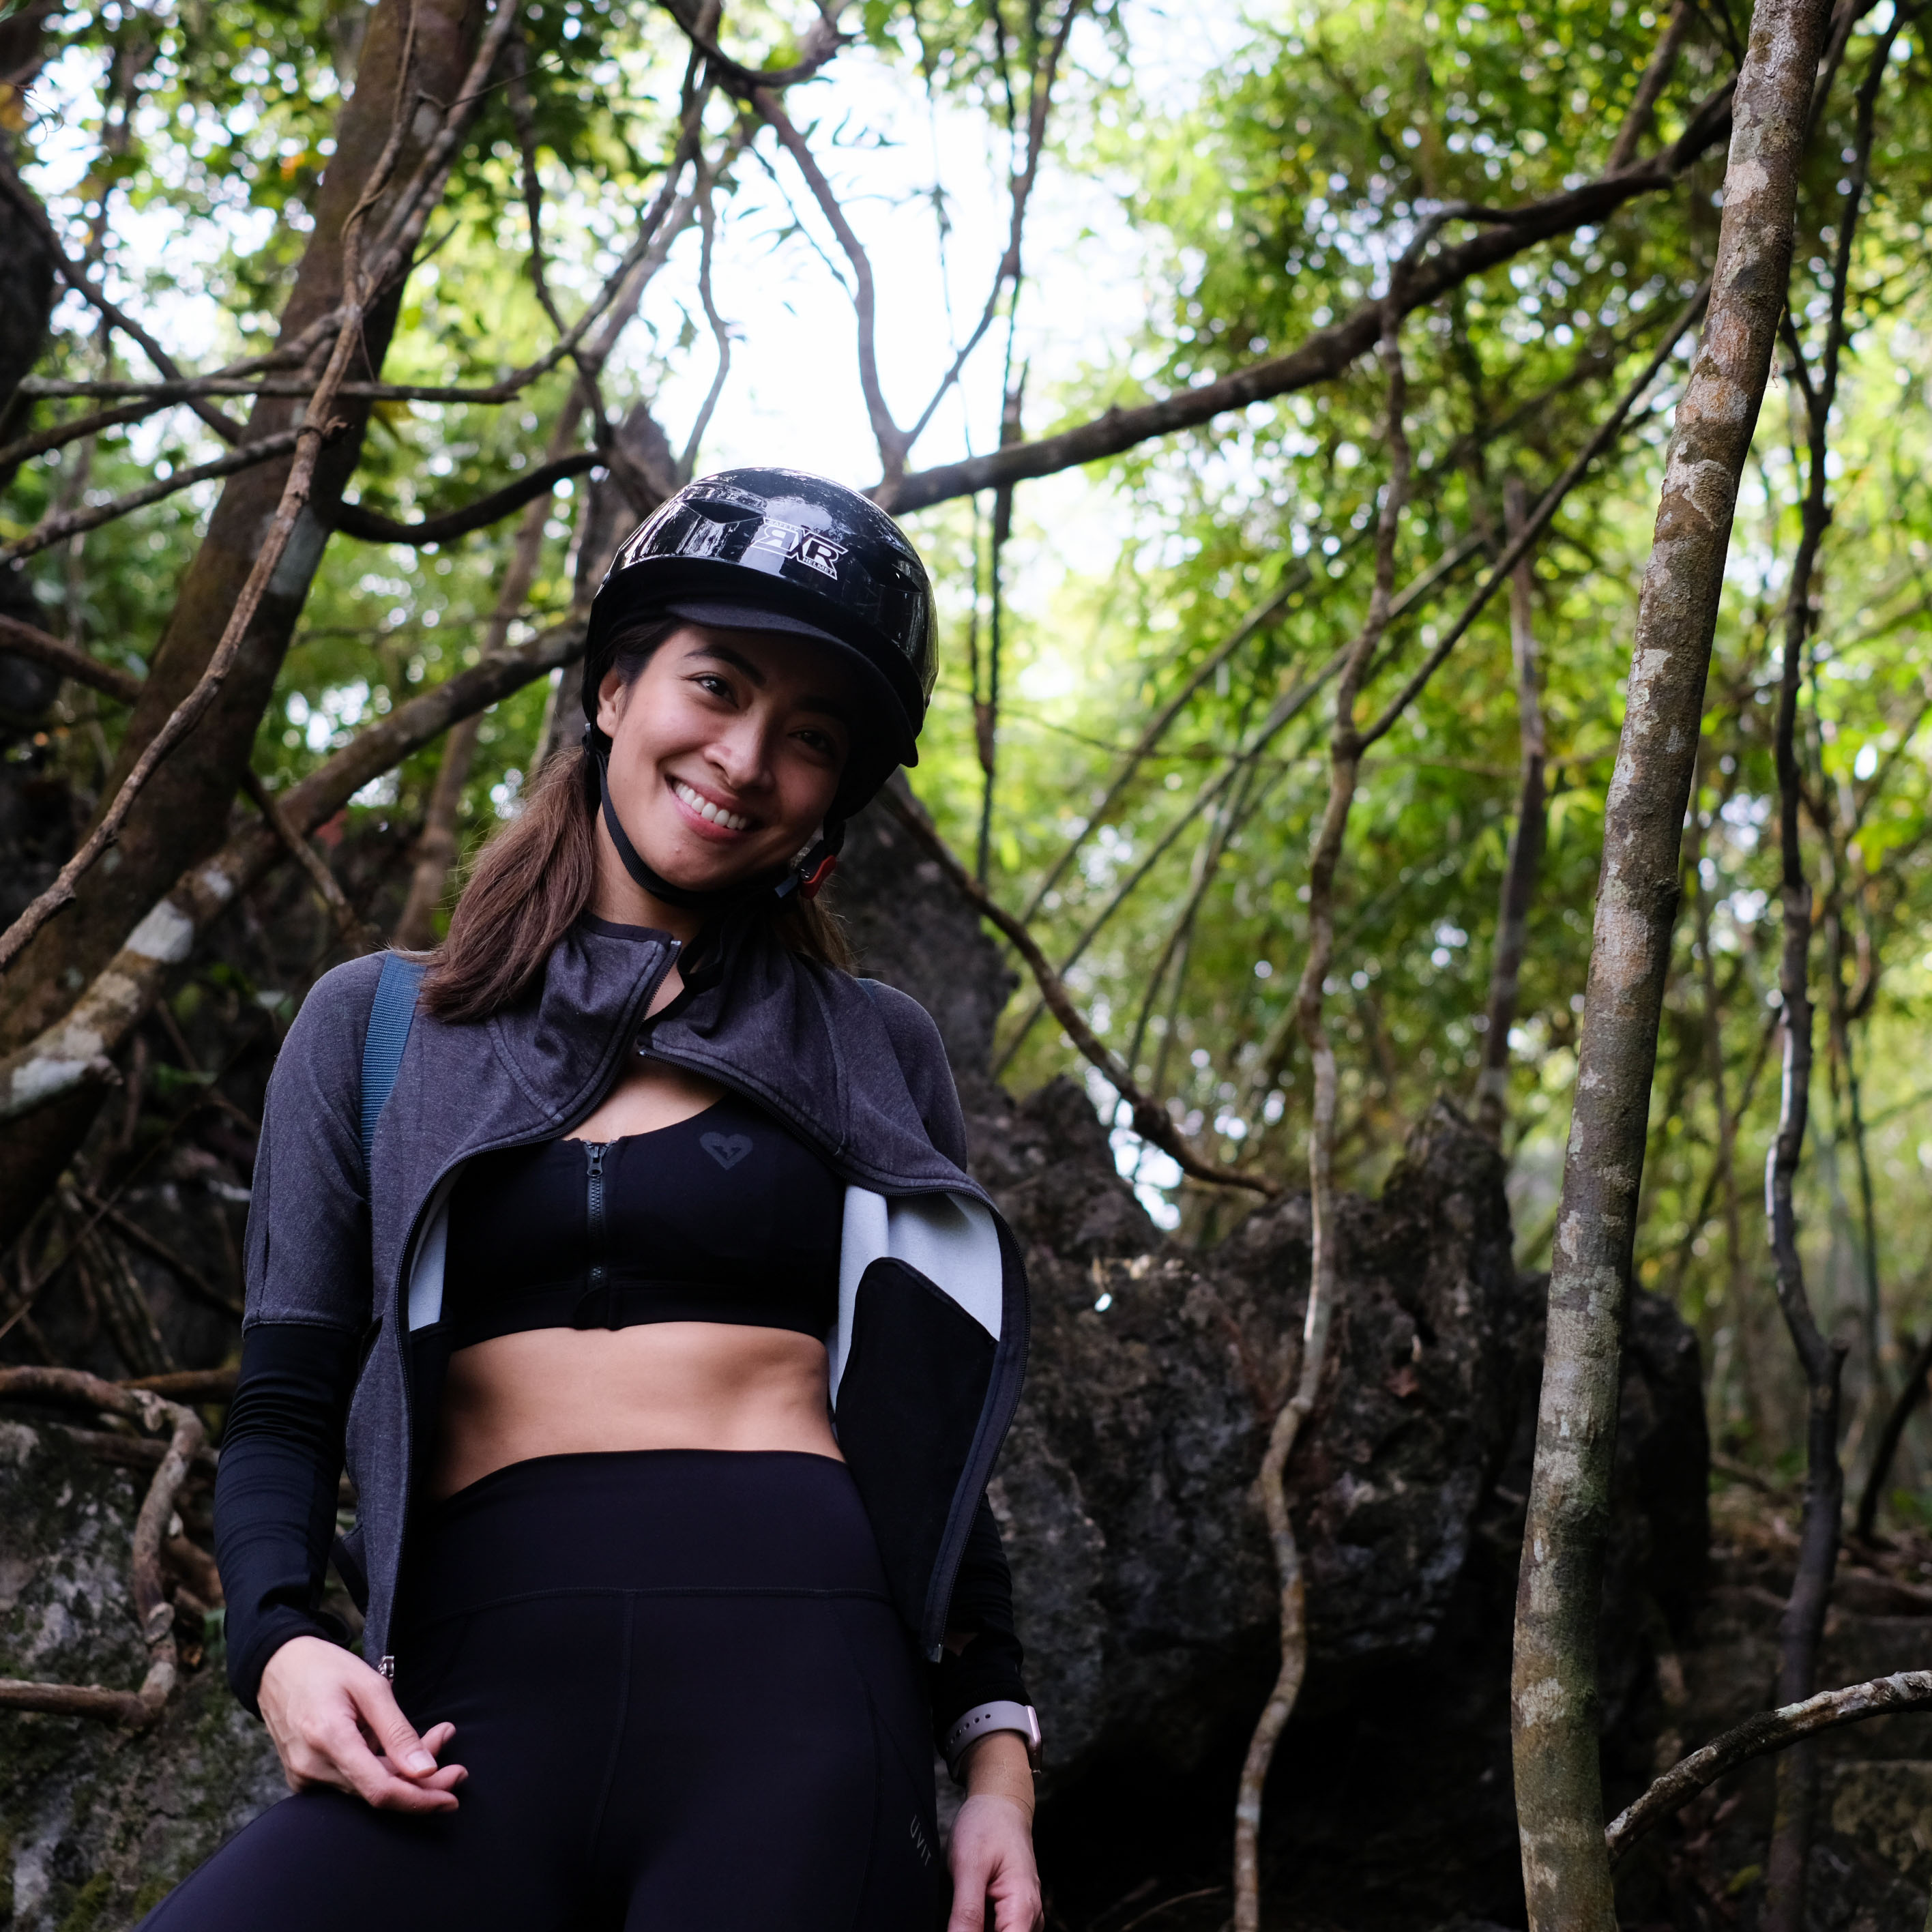
Quick tip pa more: Wear breathable fabric and if you don’t want to get scathed, best to wear tights instead of shorts.
Bayawak
Named after the largest lizard that can be found within, climb down the Bayawak resting at the side of a tall rock edifice.
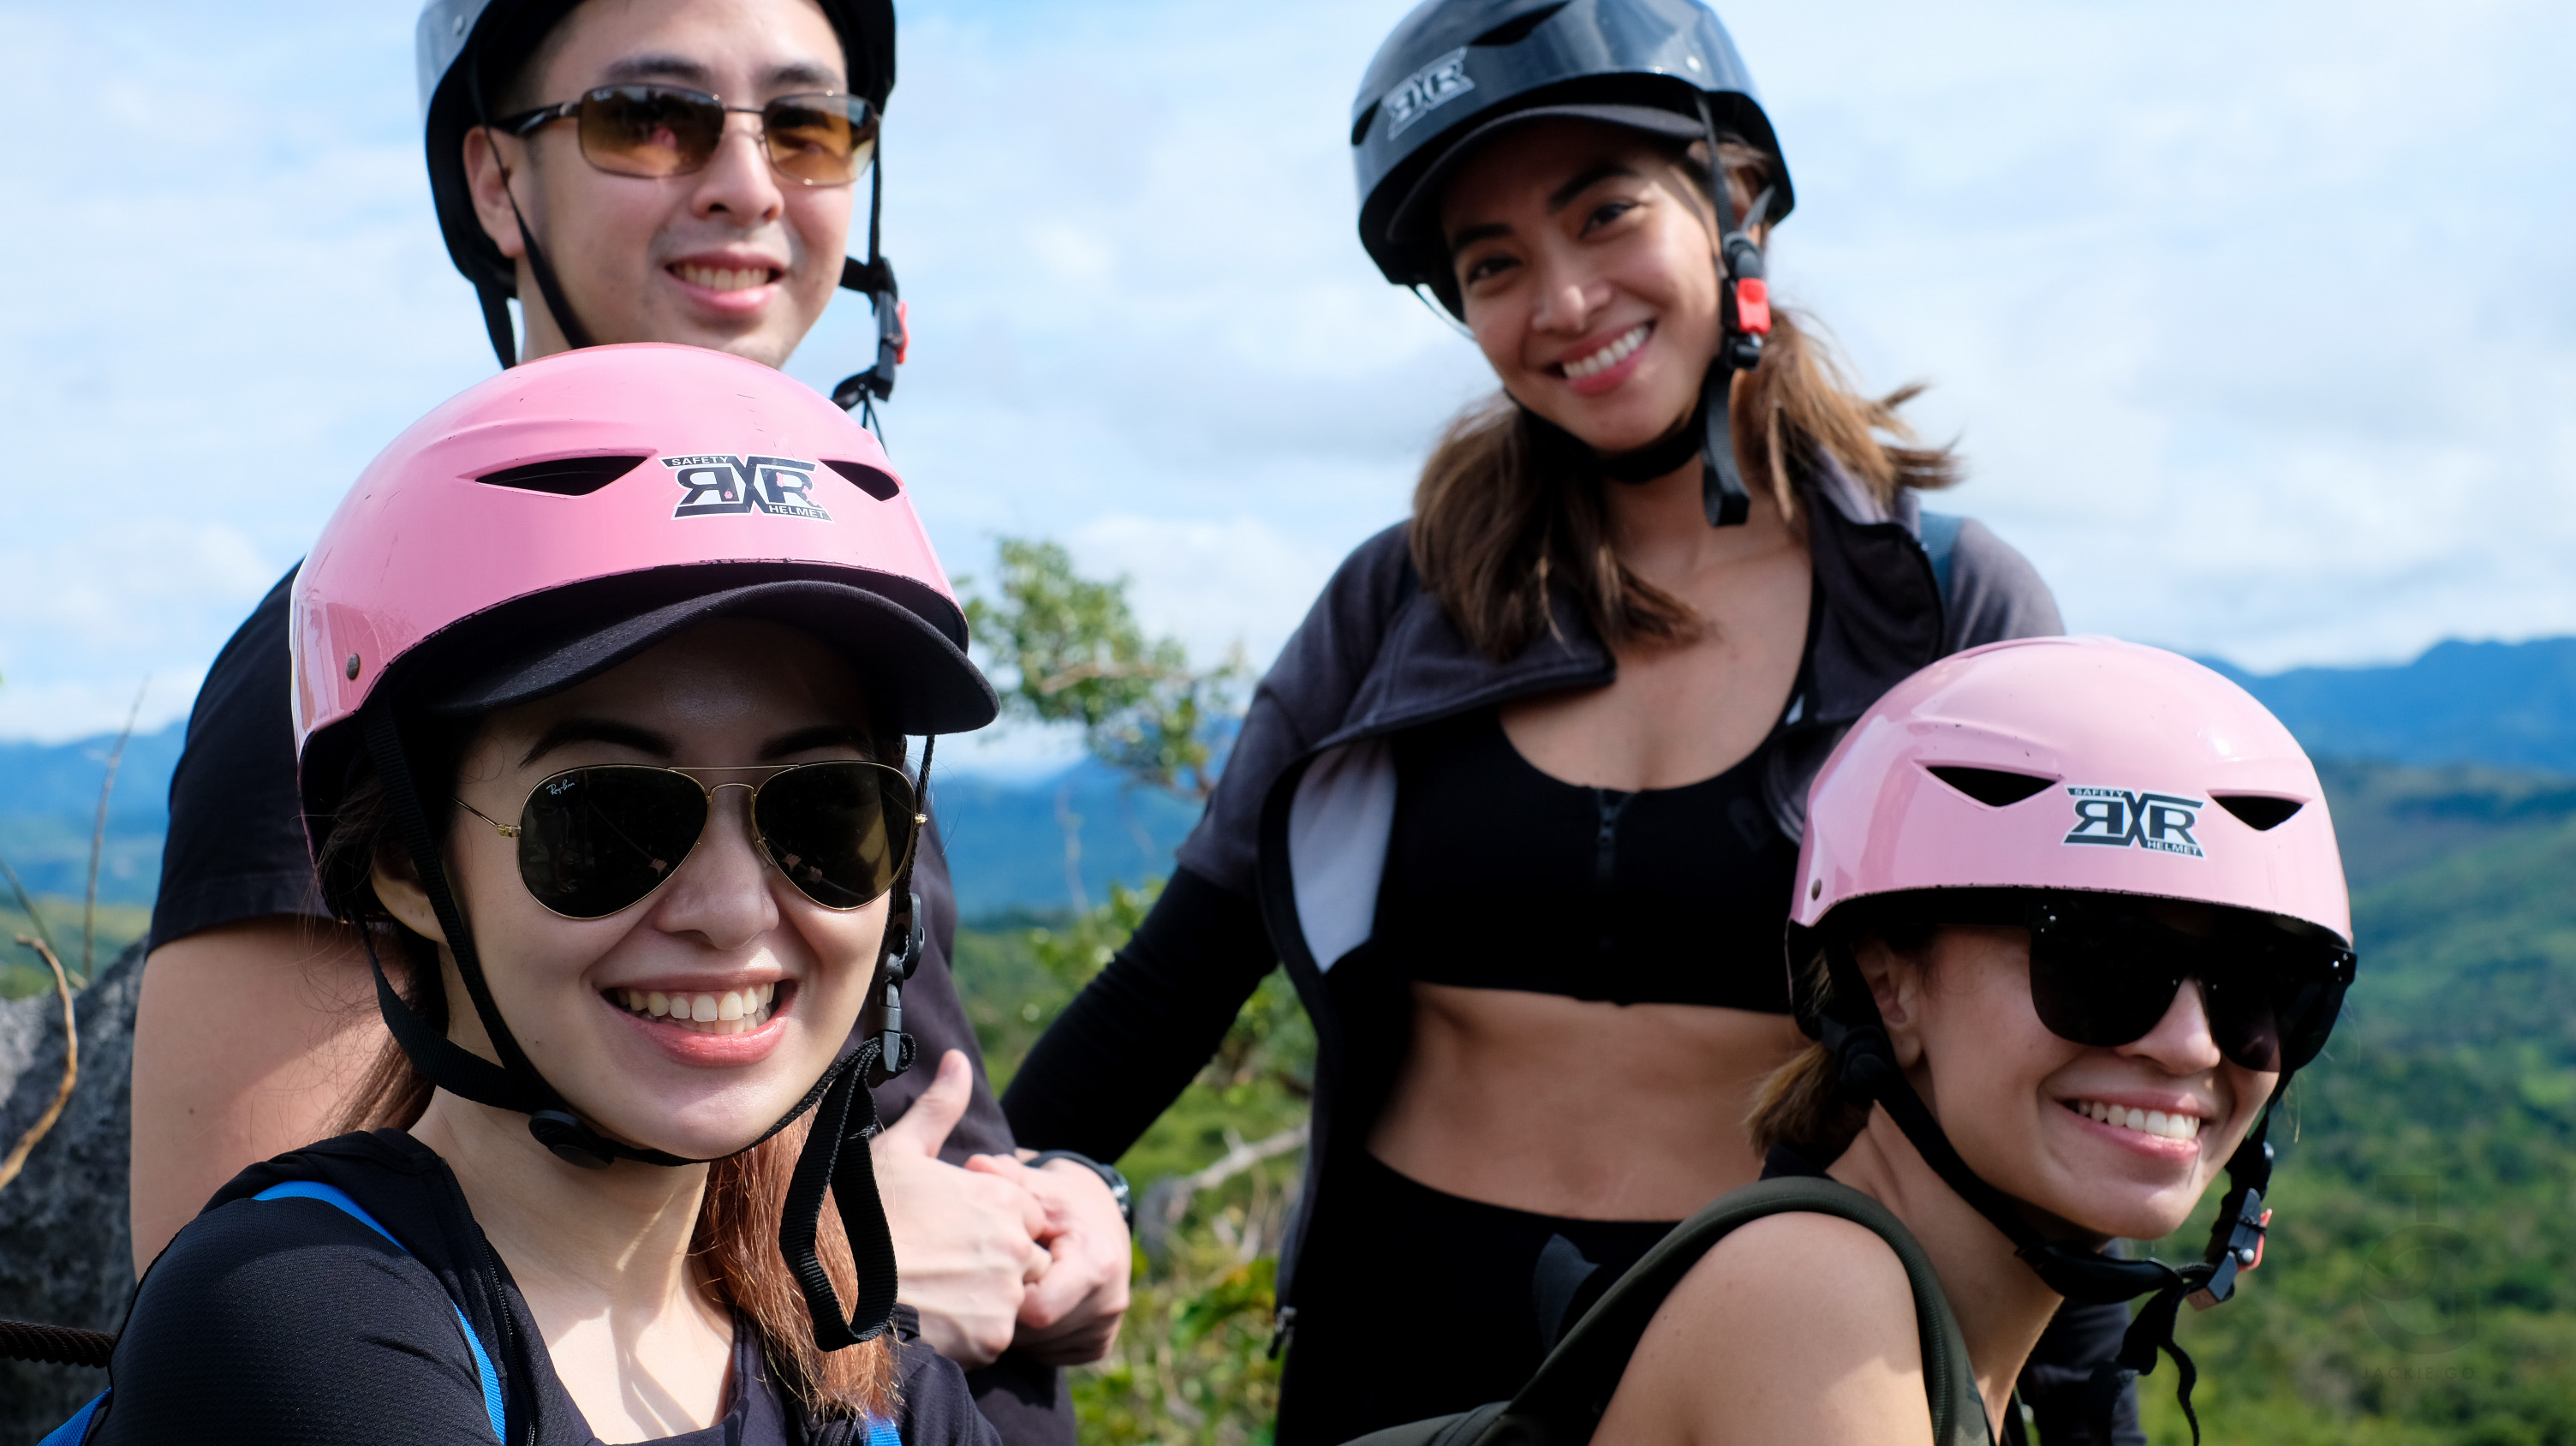
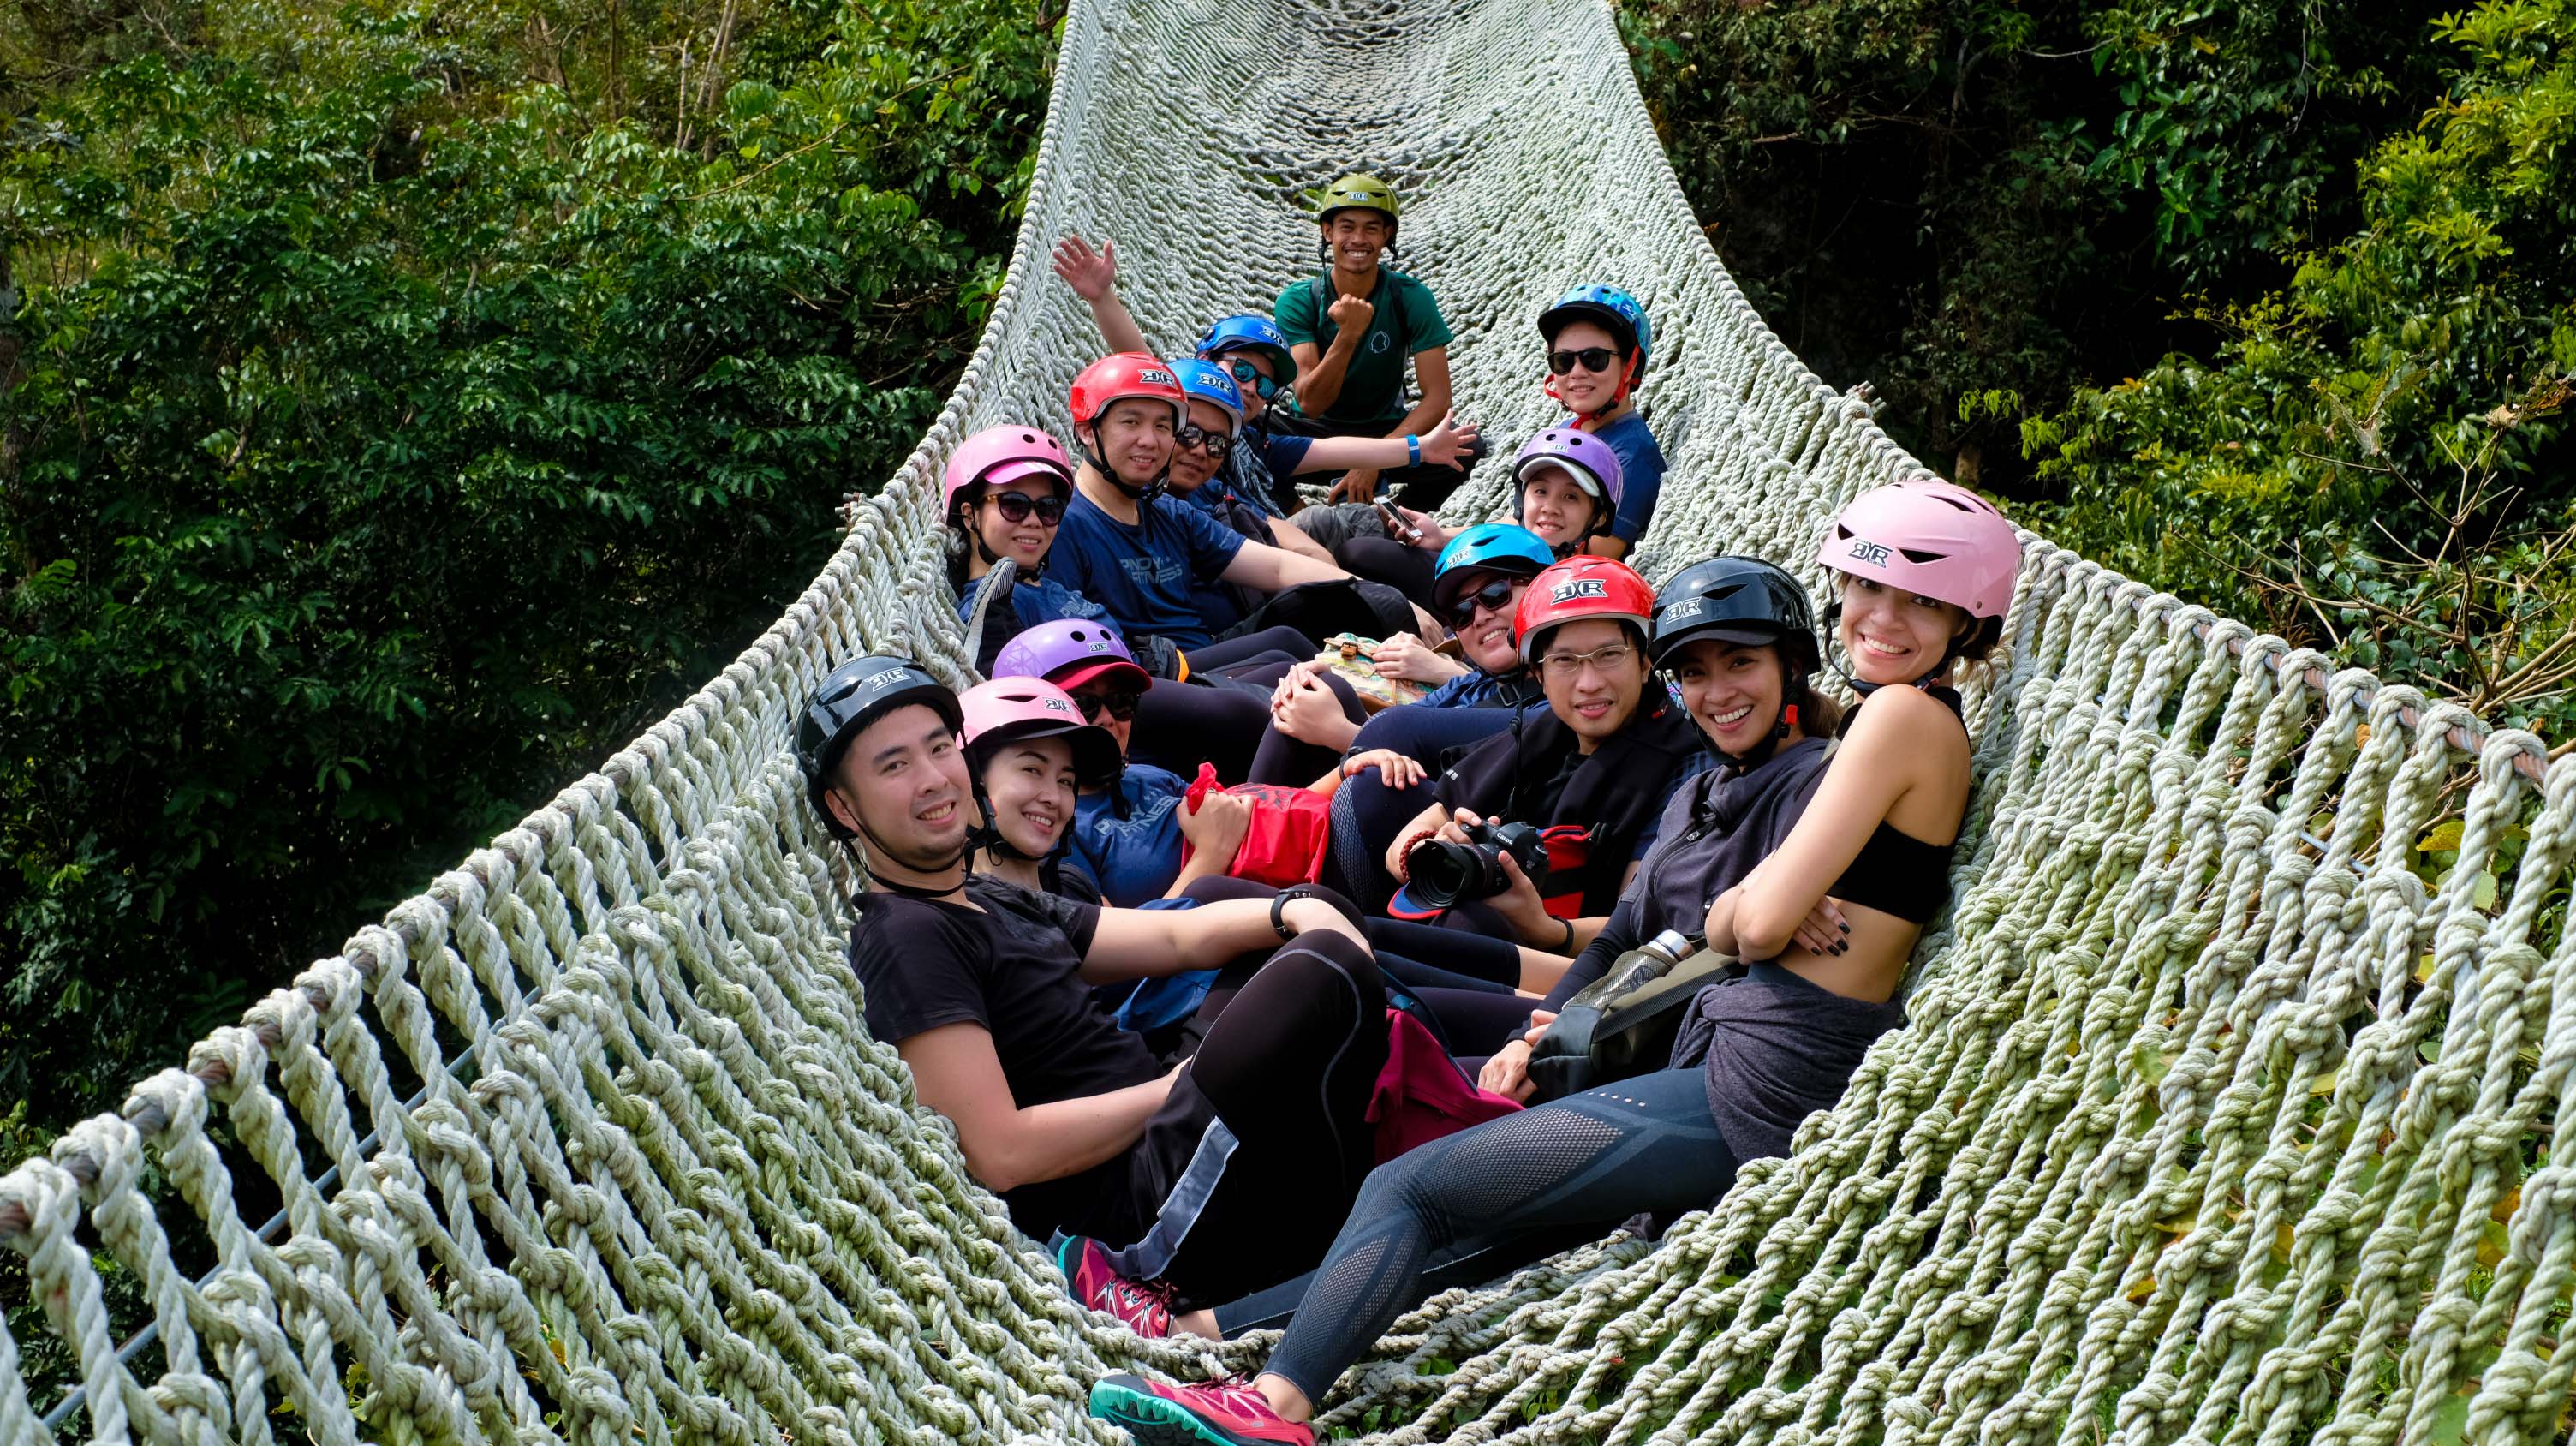
Group photo at the Duyan! So much fun being able to do this with Jeff and his friends namely Jaycee, Lisa, Dandan, Rene, Yvette, Rog, Speedy and Ting. They’re so game yet so steady!
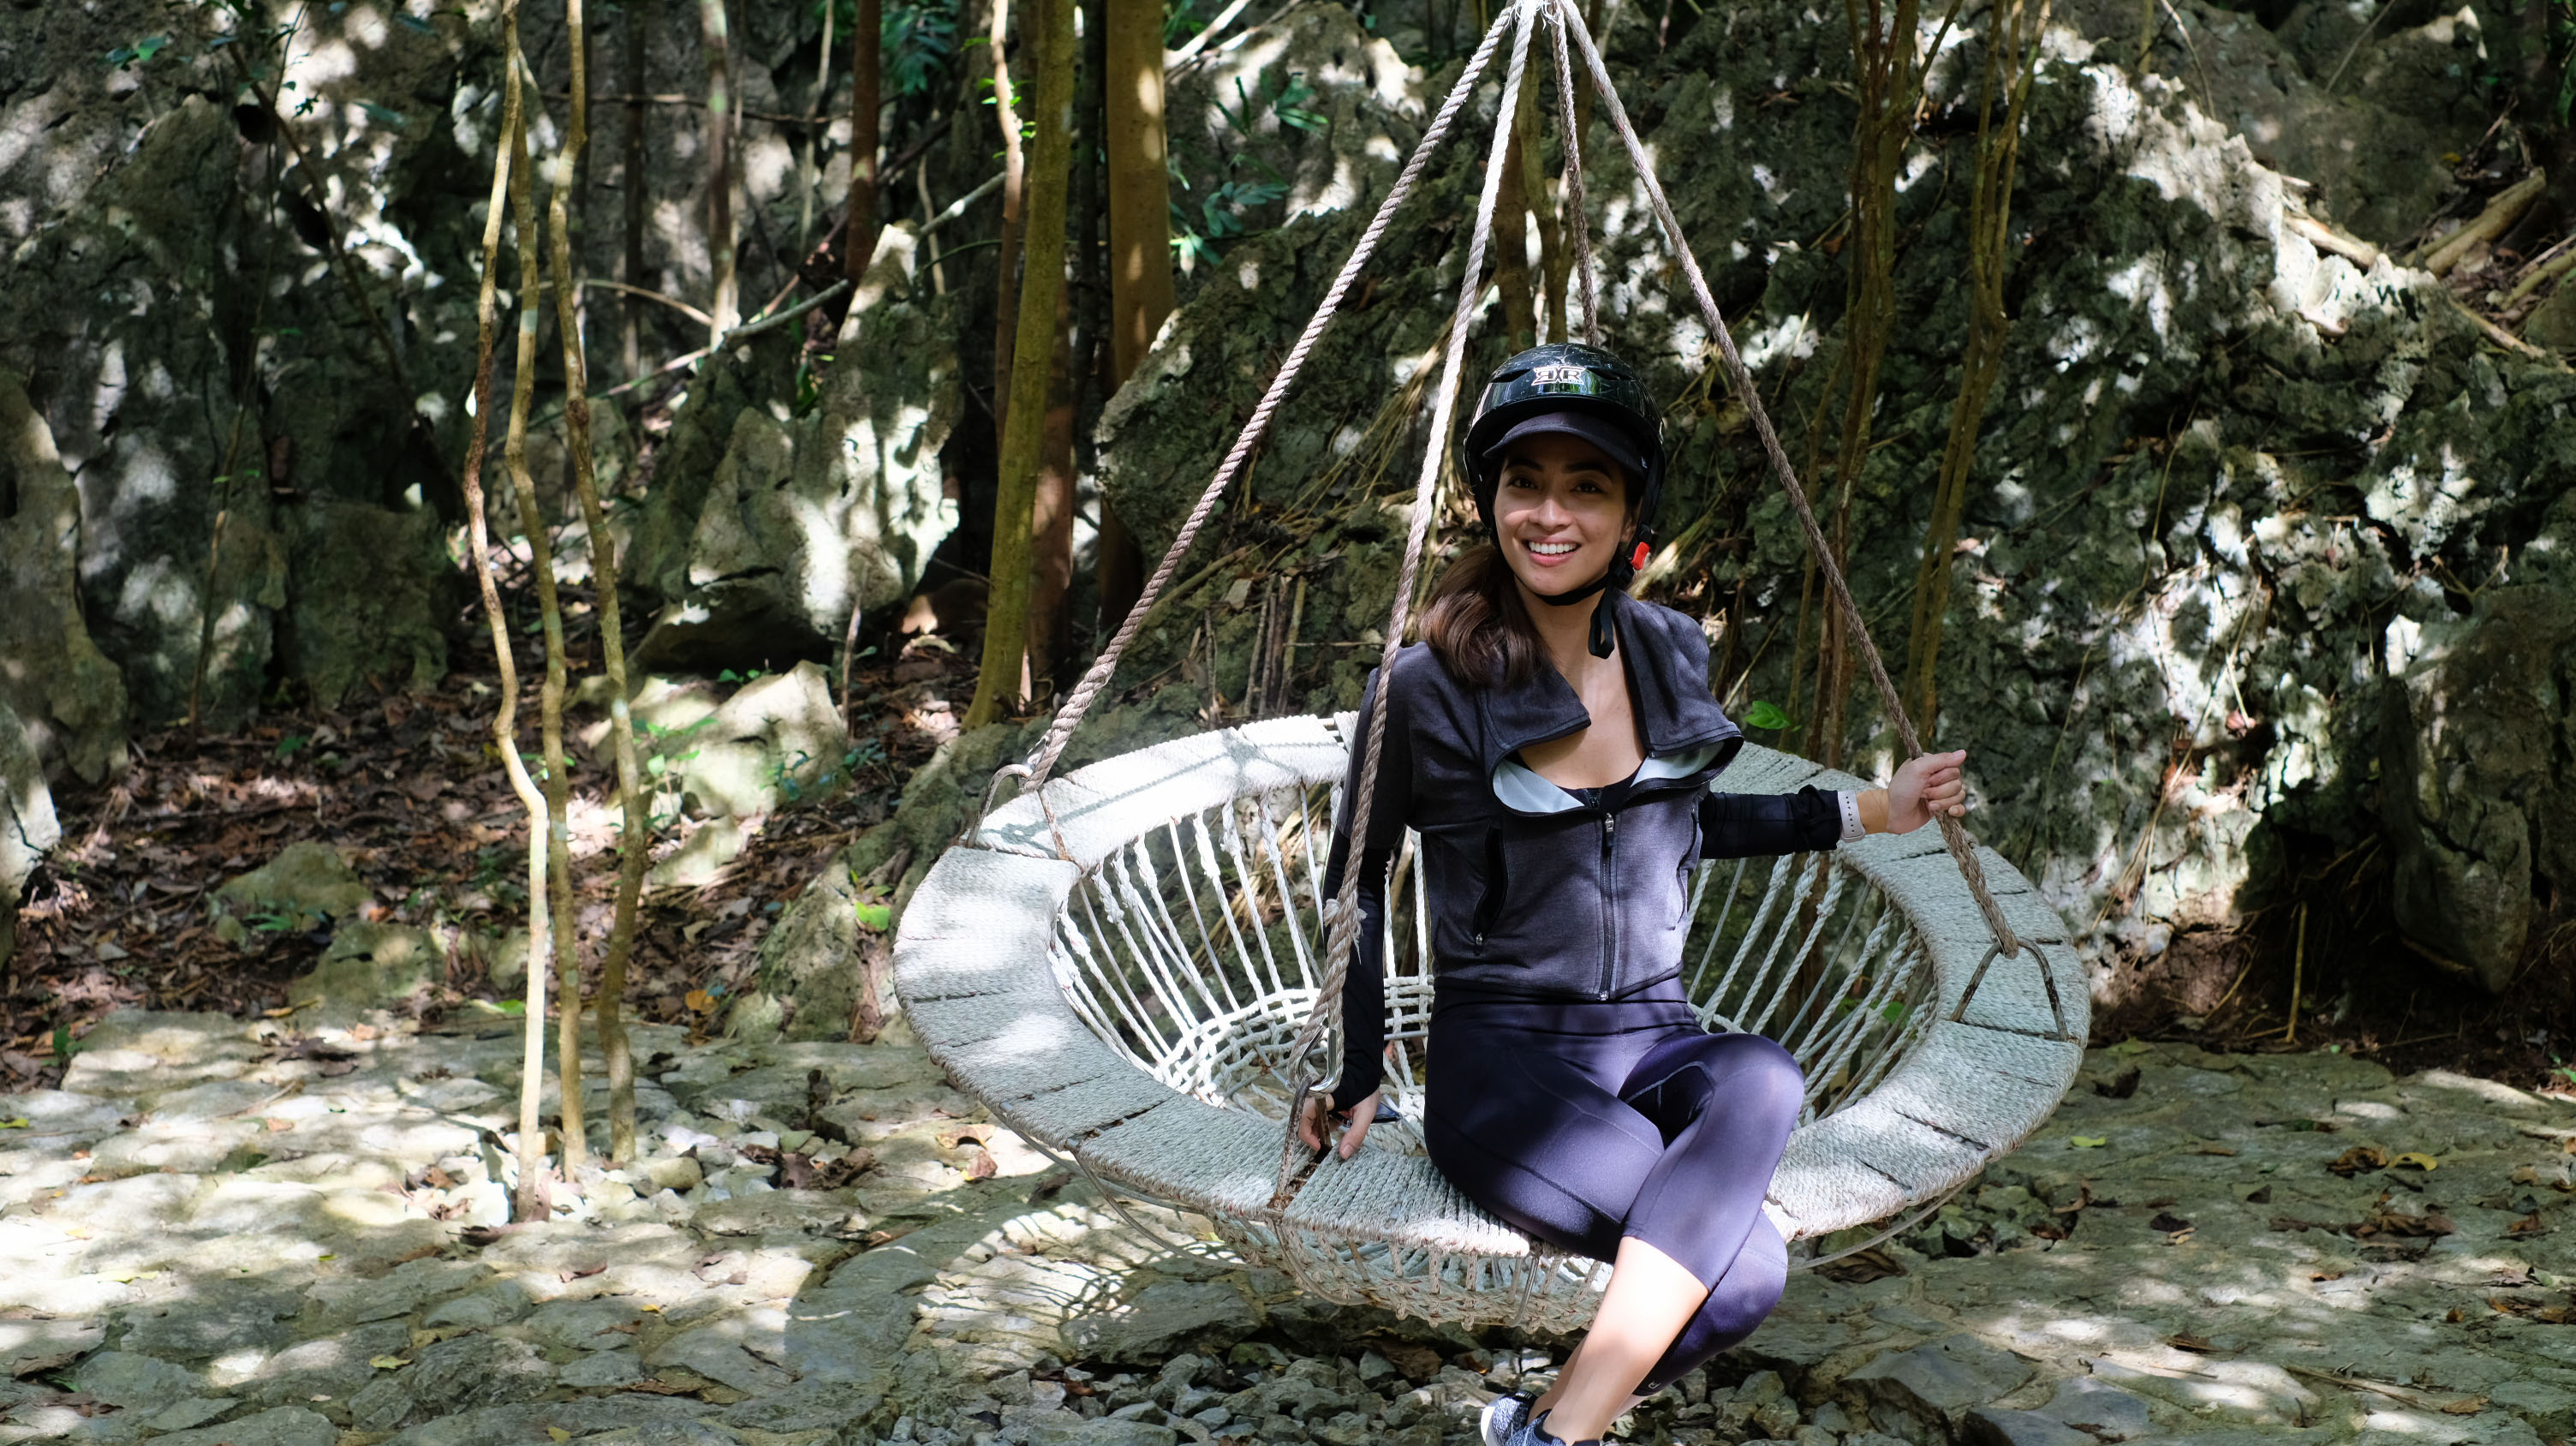
Ditse, Patak, at Duyan
This area contains an already existing cactus garden and an air house.
I did the trail with an injured left wrist and thankfully it didn’t require me to use it as much. But because I have vertigo, there were times I felt dizzy as we walk thought the hanging bridge. Hahahuhu. Still it was an experience I truly enjoyed!
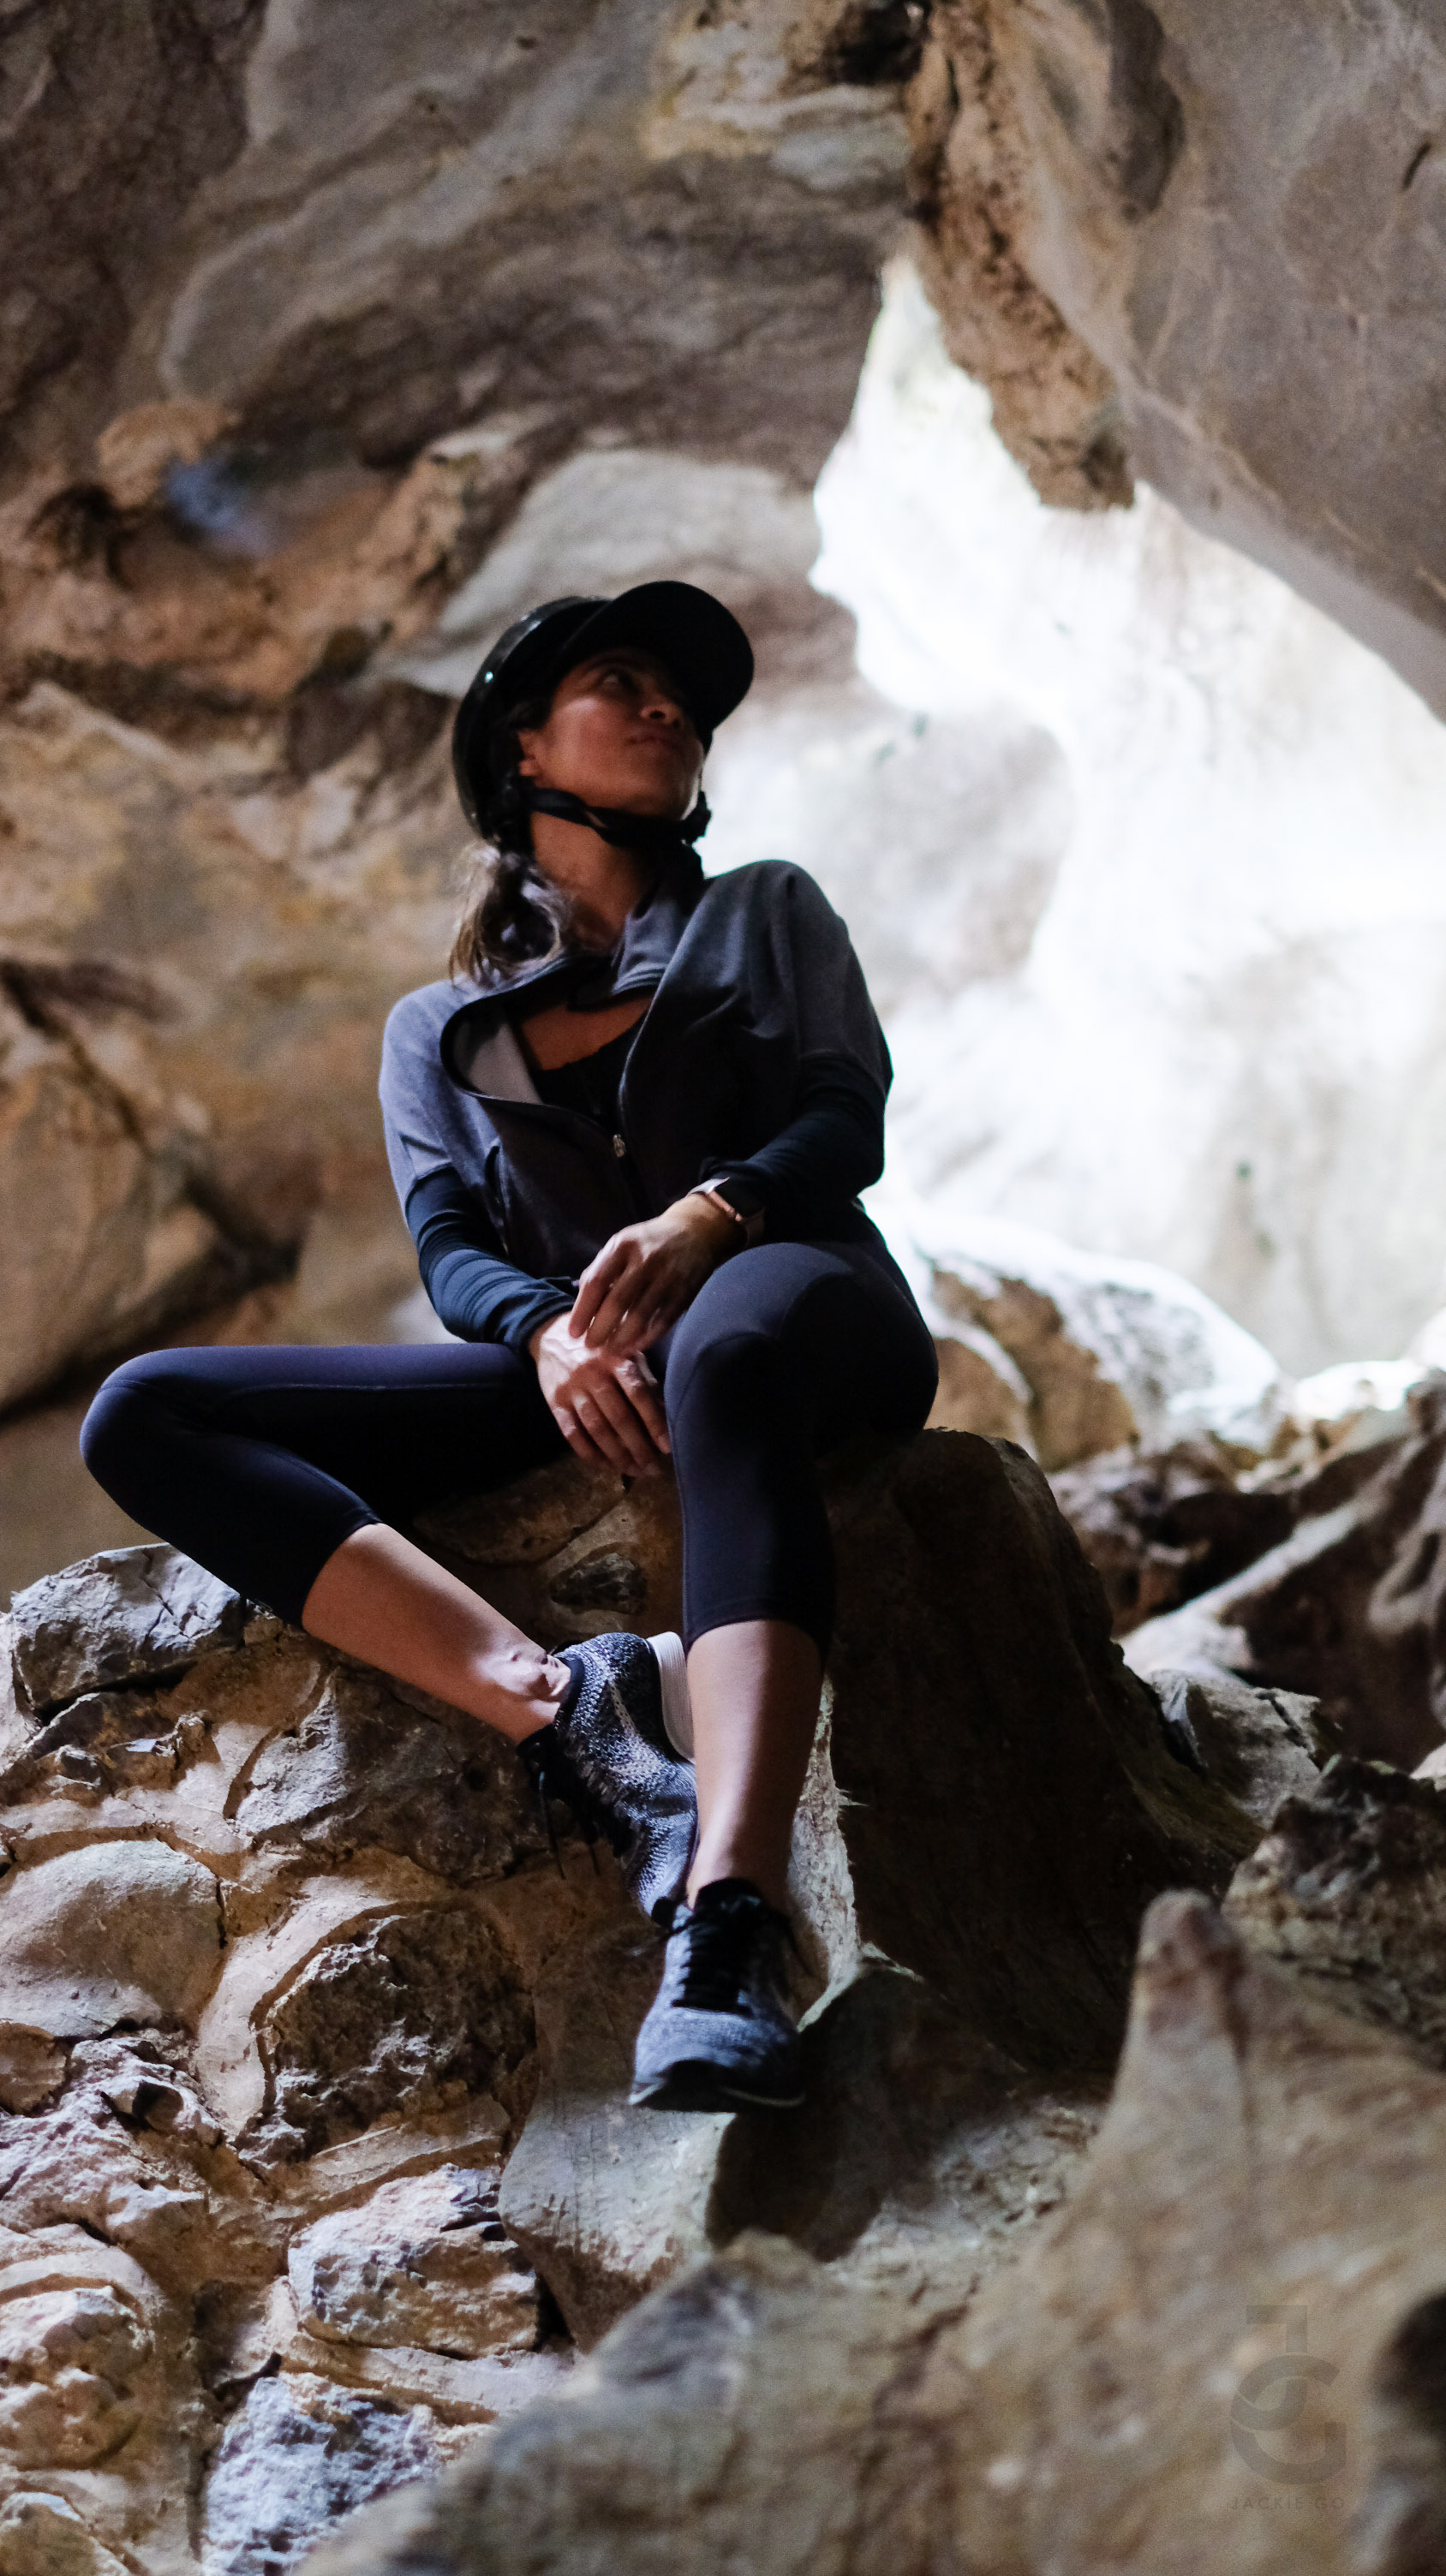
Yungib ni Ruben has cave characteristics that is just beautiful! Natural light tries to seep in. This was a candid shot taken by Mr. JG as we marvel at the beautiful cave formation.
Yungib ni Ruben
An example of a cave formation that is part of a karst landscape, get up and close with cave characteristics or simply seek a cooler shelter away from sun.
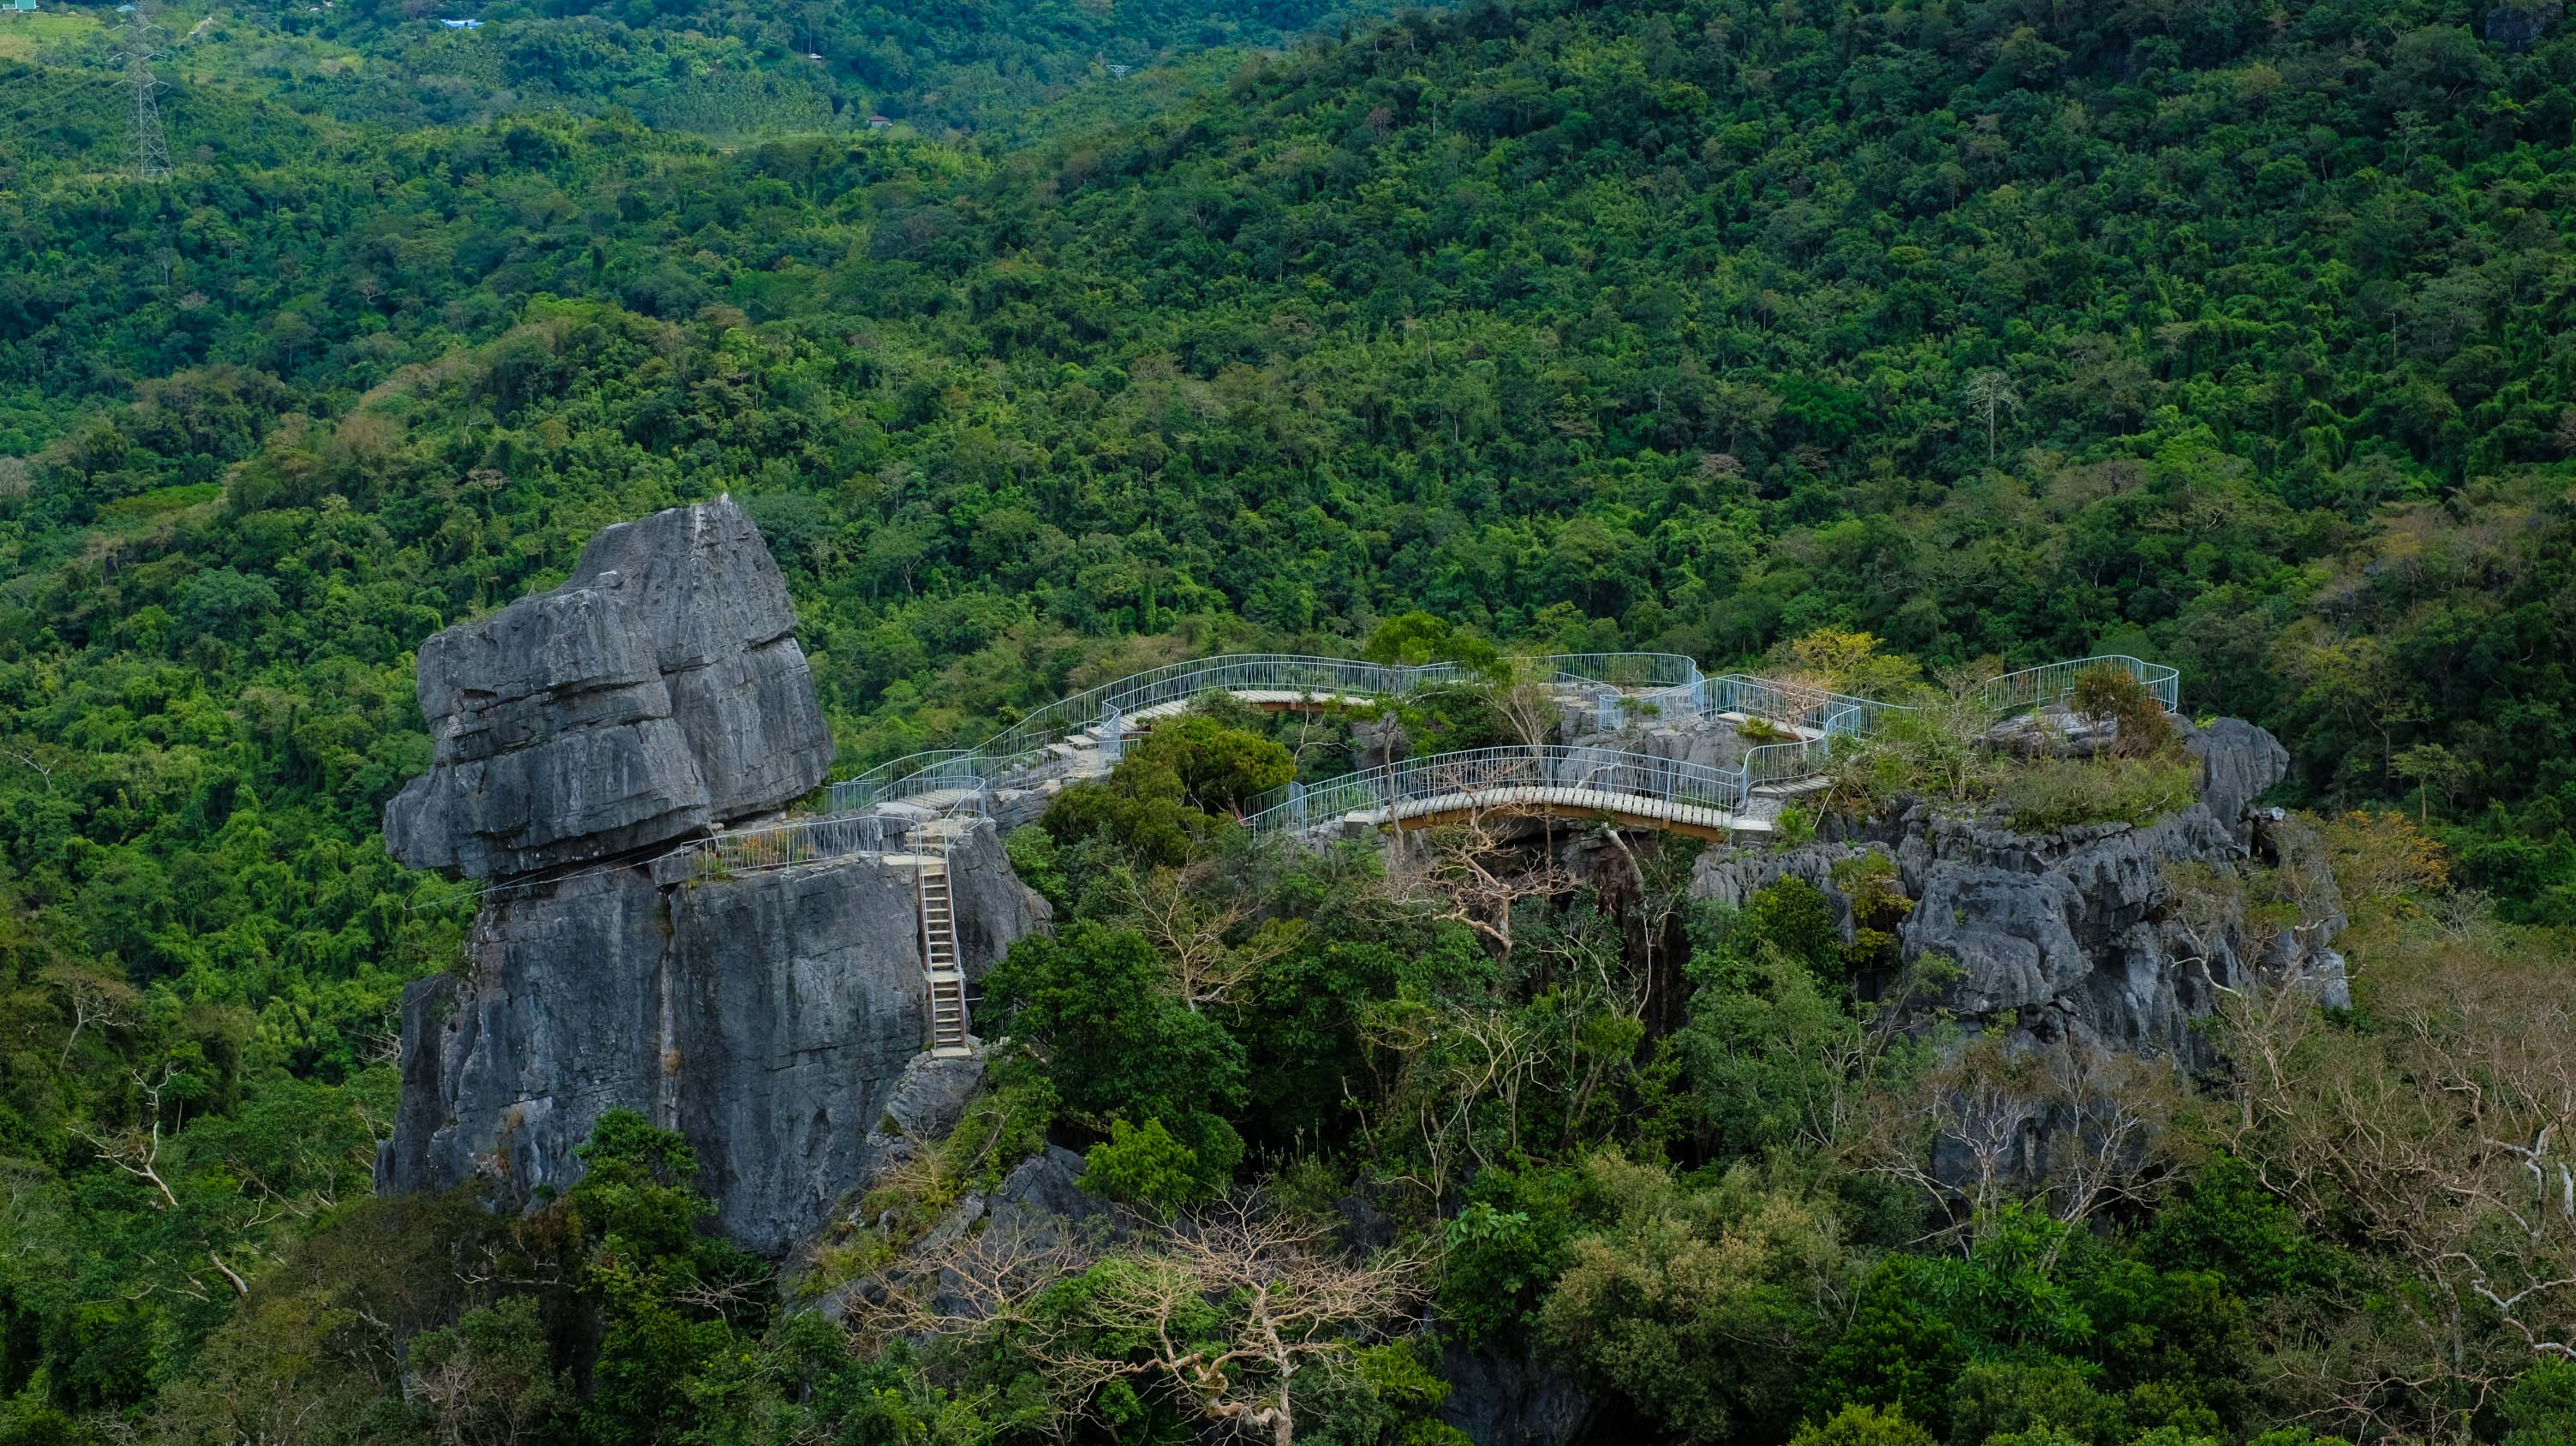
The two peaks that we climbed that day. Don’t be intimidated by it. You wouldn’t know you’re already there until you see the beautiful view surrounding you.
Tatay
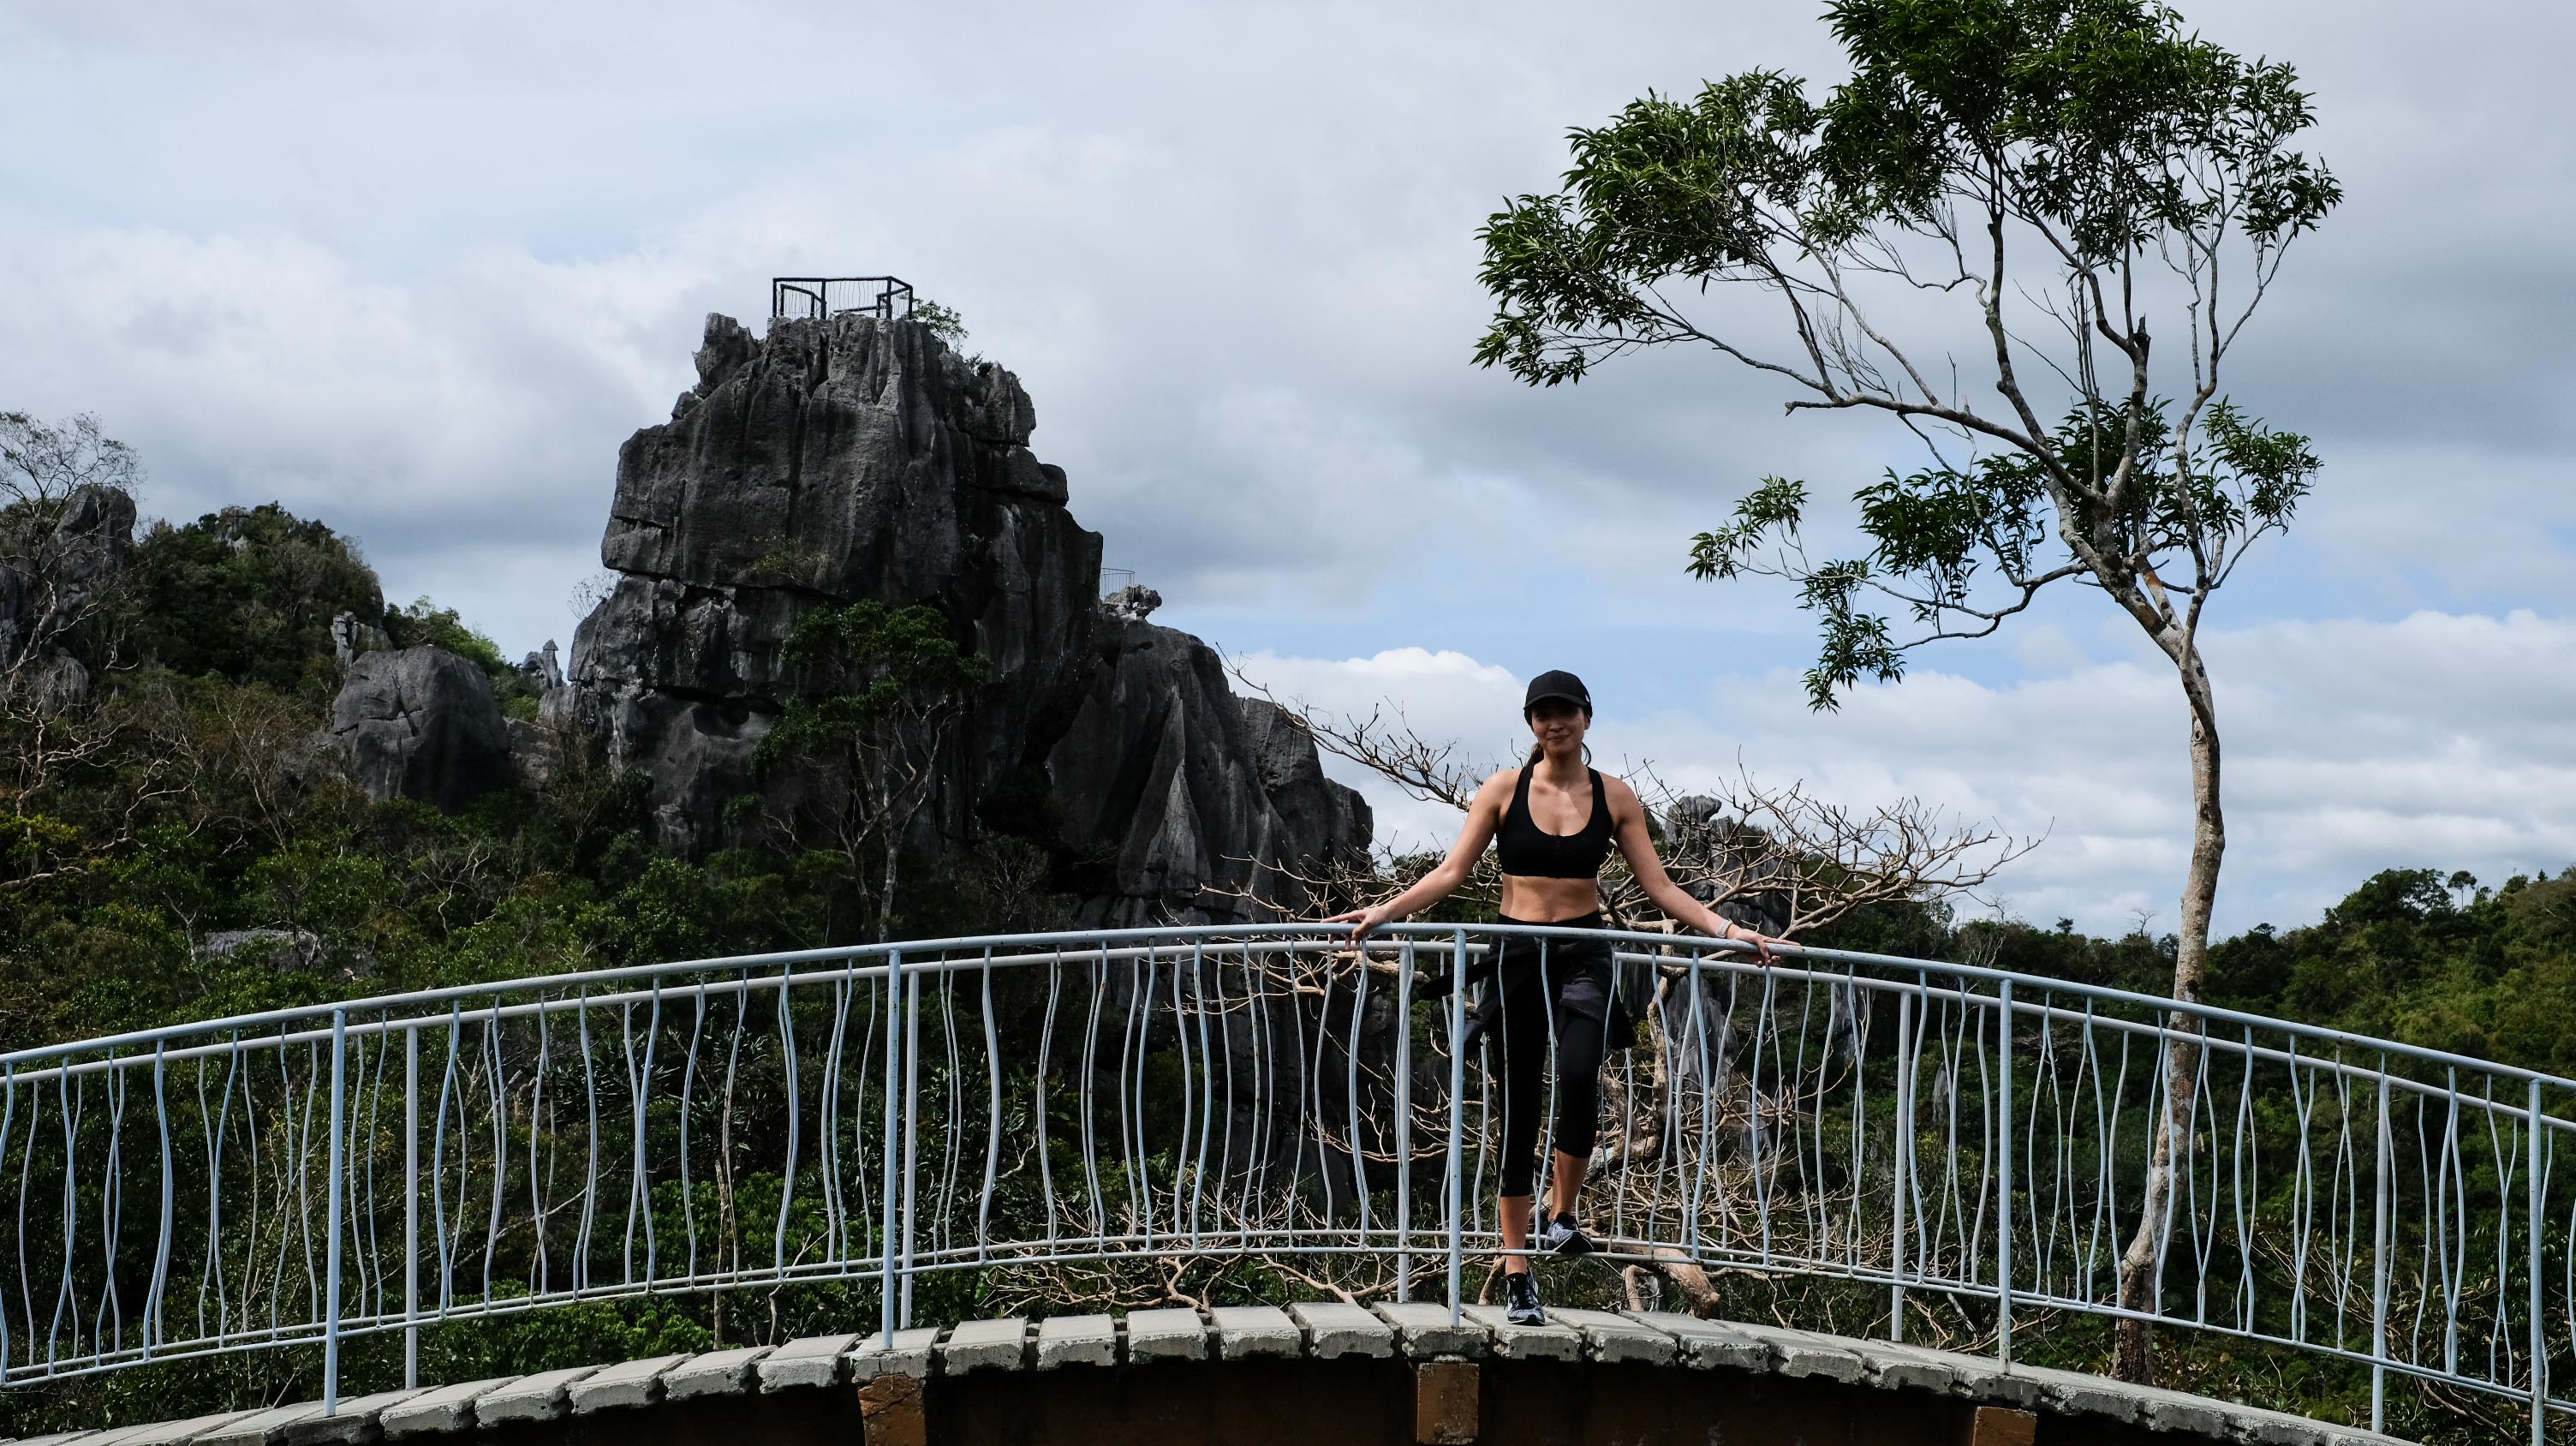
The first and taller one among the two peaks is a natural sculpture and formation composed of several rocks seemingly piled on top of one another.
Nanay
The second peak features five limestone rock peaks interconnected by bridges.
Really glad Mr. JG was so game to join me and my friends to experience Masungi! Even though he’s not an outdoorsy person, he went out of his way and woke up early for a Sunday fun day with nature!
Liwasan
This valley-like area with a bird bath and a rest area (Barangay Dahon) is designed for relaxation prior to the final ascent back to the visitor sheds.
Last quick tip: There’s a part in Masungi where you have to walk in silence. That area is sort of a meditation walk where you’re asked to just listen to nature (bird chirping, wind brushing against the leaves of the trees, it’s amazing!) I know it’s fun to make chika with your friends but it’s also great to walk in silence, appreciate the beauty around you and take it all in.
Sawa
Make your way back to the starting point by passing through Sawa (Snake). Sawa offers spectacular views of the Liwasan area.
Finally experienced Masungi Georeserve and I highly recommend it for people who want to start exploring the beauty of nature and the high of a trail. It’ just an hour and a half away from the metro (on a Sunday that is). A good way to do something fun and help conserve the environment too!
Watch the video Pinoy Fitness did of our Masungi Georeserve experience.
Now where to go next? 🙂
MASUNGI GEORESERVE
Kilometer 47, Marcos Highway, Baras, Rizal, Philippines, 1970
Hey Jackie,
Your photos look really good here. What type of camera did you specifically have strapped on you that you used? We’re heading to Masungi nextweek, or is this just a smart phone? Thanks! 🙂
Hello! I use Fuji XT20 with 35mm lens 🙂
Enjoy Masungi!